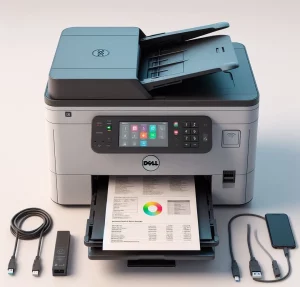
A necessary part of keeping your Dell printer in good working condition and to maximum capacity includes testing your Dell printer. If you’re setting up a new printer, or are having problems with your existing printer, a Dell printer test is an easy way to determine if printer problems exist and, if so, what they may be. Thus, In this guide, we’ll take you through how to run a test on your Dell printer, some common problems you might experience, and tips on getting your printer up and running.

Why Run a Dell Printer Test?
For many reasons, it is important to run regular printer tests.
- Identify Hardware Issues: Mechanical problems can be revealed by a test like a paper jam, misaligned printheads, or clogged nozzles.
- Check Ink Levels and Quality: This lets you evaluate the amount of ink and print quality.
- Diagnose Connectivity Problems: Additionally, printer tests will also verify that your printer is indeed connected to your computer or network.
- Prevent Downtime: Early problems can be caught on routine testing, and be prevented from becoming larger problems which could result in downtime.
Types of Dell Printer Tests
To ensure your Dell printer works optimally there are several ways that you can test your printer. Below are the most common methods:
1. Self Test Page
It is a self test page built into Dell printers. Your printer’s configuration and ink levels, and the status of key components will be shown on this page.
How to run a self-test page
- Power on your printer.
- Press the Menu button (this may vary by model, so check your manual).
- Navigate to Printer Setup or Tools.
- Select the Print Test Page or Self-Test Page.
2. Quality of Test Print
A print quality test runs to see how good your printer’s output is. If you notice streaks, faded text, or color abnormalities in prints, this test is critical.
Steps to Run a Print Quality Test:
- Open the Dell printer software.
- Navigate to the Maintenance or Troubleshooting section.
- Select Print Quality Test.
This will provide a couple of colors, shapes, and text on a page to your printer that it will print to help you determine if there are any ink or alignment issues.
3. Check Nozzle of Dell Printer
Steps to Perform a Nozzle Check:
- Access the printer’s settings from your computer.
- Go to Maintenance or Printer Utilities.
- Select Nozzle Check.
The nozzle check will print a page of the pattern of each nozzle.
Tips for Dell Printer
Regular maintenance will extend the life of your printer as well as prevent common problems.
- Use Quality Paper: Jams may occur, and print quality can suffer, on such paper.
- Clean the Printhead: Clean your printhead regularly to avoid any clogging and will much crisp prints.
- Monitor Ink Levels: Know your ink or toner levels at all times and replace it as soon as it starts to get too low in order to not damage your printer.
- Update Printer Drivers: Install driver updates as soon as you can. But check often to make sure you have the latest version.
Conclusion
One simple but effective way to know for sure that your printer is working is to run a Dell printer test. You can keep your Prusa 3D printer up and running to its fullest performance by regularly doing the things like the self test page, print quality check and nozzle check, so you can detect problems early. In short, a little maintenance, remember, goes a long way towards keeping your Dell printer running for years to come as it guarantees print quality.
To help you in the case of printer maintenance trouble booting check out original Dell support page or seek help from printer manual.
Frequently Asked Questions (FAQs)
Power on your printer.
Press the Menu button (this may vary by model).
Navigate to Printer Setup or Tools.
Select the Print Test Page or Self-Test Page.
