There are different brands of printers used worldwide. Also, each brand has its own models. These printers use their own software (drivers) to connect with computer systems. When it comes to taking a print test page, each printer brand and its model use specific software instructions or dedicated keys. This research article will guide you step-by-step to take print a test page on almost all printers and their specific models, using both software and manual approaches.
HP Printers
You can use the following two methods for print test page HP.
First method: Using the HP printer software:
- Open the “HP printer software” installed on your computer or laptop.
- Click “Tools” or “Maintenance” of the HP printer.
- Choose “Printer Self-Print Test” or “Printer Diagnostic Page”.
- Follow the instructions to get to the test page.
Second method: Using the Print Button
- Load printer paper and on the printer.
- Press and hold the “Power Button”.
- Hold the power button and press the “Cancel Button” one time.
- After pressing the cancel button, release the power button.
- Your HP printer will print a test page.
Canon Printers
The Canon printer is capable of printing test page both manually and using Canon software.
First Method: Using Canon printer buttons
Manual methods for a test page on a Canon printer differ for different printer models.
Pixma printer Models:
- Press and hold the “Cancel” or “Resume” button.
- Hold the button until two alarm flashlights.
- Release after the second flashing light.
- You will get a test print page.
MX Series printer models:
- Press “Menu Button”
- Open “setup” from the menu.
- Select “Maintenance”
- Choose “Nozzle check”.
- Press OK to confirm and get test page.
Image Class Models:
- Press and hold the “Stop” button
- Hold on until the “Power light” flashes green two times.
- Release the “stop button” now.
- Canon printer will release the test page.
Second Method: Canon printer software
- Open the installed software of canon printer based upon the printer model.
- Open the “Setting” or “Maintenance” section.
- Based upon the printer model check for Test Page, Nozzle Check, or Self-Test.
- Select one of the above options and follow the instructions.
- Your printer should print a test page.
Epson Printers
The following are two methods to print a test page.
Epson print test page
- Turn on your printer and load printer paper.
- Find the specific button based on your printer model.
- Most EcoTank models: Press and hold the “Resume” button for five seconds.
- Expression Photo models: Press and hold both the “Black” and “Color” buttons for three seconds.
- Expression Home models: Press and hold the “Power” button for five seconds.
- WorkForce models: Press and hold the “Cancel” Button
- The Epson printer will print the test page.
Software Epson printer test
- Open the Epson software installed on your computer/laptop.
- Go for the “Settings” or “Maintenance” option.
- Navigate to any of the options based on your printer’s model: “Print Test Page”, “Self-Test”, or “Nozzle Check”.
- Select the suitable option and follow the instructions.
- Epson printer will print the test page.
Brother Printers
The Brother printer is also capable of both manual and software-based print test page options.
Manual print test
- Turn on the Brother printer and load the printer paper.
- Check the model of the Brother printer.
- New models: Open the menu, navigate to “Machine info” and press “OK”. Select “Print Test” and press “OK” to confirm.
- Old models: Hold the “Go” button while turning on the printer. Release the “Go” button when the lights are on. Press the “Go” button again to get a print test.
- Your printer will print a test page.
Using Brother Printer software
- Navigate to the “Control Panel”.
- Open “Devices and Printer” and find the Brother Printer.
- Right-click on the printer and go to check “Printer properties”.
- Click on the “General” tab to select “Print test page”.
- Follow the instructions and get to the test page.
DTF printer (Direct to Flim)
Generally, DTF stands for “Direct to Film” printer. The procedure of printing a test page on DTF printer is quite different from other inkjet printers. Here are some steps to perform a print test using a DTF printer.
Using DTF printer software
- Open the “RIP software” which is used to operate the DTF printers. You can use any of the DTF software: AcroRIP, Wasatch SoftRIP, or PhotoPRINT.
- Navigate to the “Utilities” or “Maintenance” option in the software.
- Look for any of the available options: “Nozzle Check”, “Self-Test”, or “Print Test Page”.
- Follow the instructions to get to the test page.
Using the Control Panel of DTF printer
- Turn on your printer and connect to your computer.
- Check the control panel of your printer.
- Click on “Maintenance” and select the “Print Test Page” option.
- You will get a test page.
- Remember, the manual button for printer testing is not available on most DTF printer models.
- You can also use our free tool to get a print test page.
Additional tips:
- For a dedicated button to get a print test, consult the DTF printer manual.
- Ensure media type and print settings during DTF software setup.
- Use troubleshoots option to address any problems related to the DTF Printer.
- Use CMYK color ink in color DTF printers.
Dell Printers
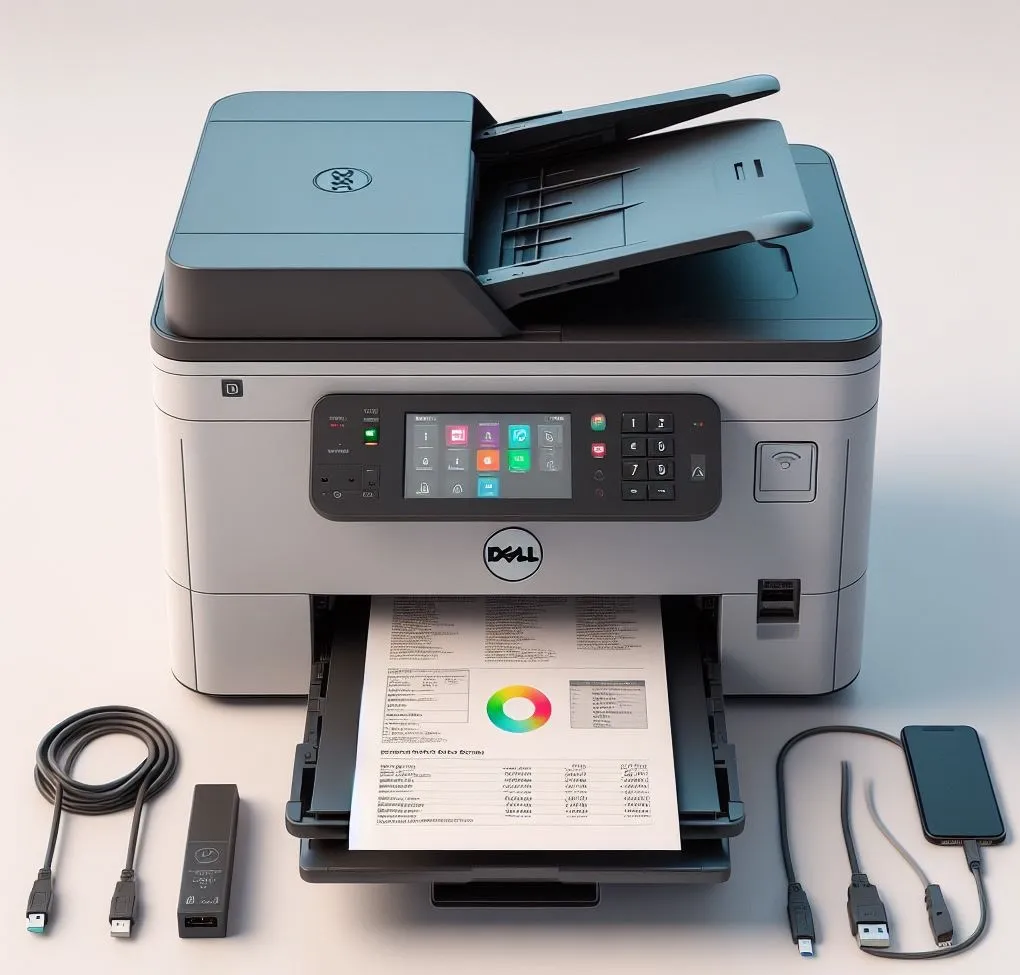
There is no dedicated key for print test page in the Dell printers. You can print the test page manually print from the Control Panel using the following steps:
Printer Test Page from Control Panel
- Type Printer and Scanner on the search bar.
- Click on the Printer and Scanner option and a new window box will appear.
- Select your Printer from a given list.
- Right-click on your printer option to choose Manage.
- From manage select “Print a Test Page”.
- Your printer will print a test page.
Using Dell printer Software
Following are steps of printing test page using Dell printer software:
- Open one of the software available with the dell printer: Dell Printer Hub, Dell Document Hub, or Dell ColorSmart Software.
- Open “Settings” or “Maintenance” from the software.
- Look for any of the available options: “Nozzle Check”, “Self-Test” or “Print test Page”.
- Select one of them to get a test page.
Lexmark printers
Printing a test page on Lexmark printer can be done using two methods:
First Method: Printer Test Page Button
- Turn on your Lexmark printer and load the printer paper.
- The dedicated button for the print test differs based on the models:
- Touch Screen models: Press the “Settings” button, opt for the “Reports” option, and go to “Menu Settings Page”. Select “Print Test Page”.
- Old models with LCD: Press the “Menu Button”, go to the “Reports” option, and now select “Menu Settings Page”. Select “Print a Test Page”.
- Older models without LCD: Turn on the Printer, and meanwhile press and hold the “Linefeed” Button, hold it until the printing of the test page starts.
- Your Lexmark printer will print a test page including the printer model name, toner level, and the rest of the diagnostics.
Second Method: Lexmark printer software
- Open one of the software: Lexmark P910 Series Utility, Lexmark MarkVision Professional.
- Open the “Settings” or “Maintenances”
- Select any one option: “Print Test Page, Nozzle Check, or Self-Test”.
- Follow the software’s instruction to get a test page for Lexmark printer.
Xerox Printers
The following are two methods to get a test page on Xerox printer:
First Method: Using a dedicated button on Xerox printer
- Turn on your printer.
- Select your model: different models using different buttons.
- AltaLink and WorkCentre models: Press the “Menu button”, go to “Maintenance”, click “Supplies”, and then “Print Supplies Information”.
- Versant models: Press the “Menu” button, check “Diagnostics”, then select “Print Menu Settings Page”.
- Phaser models: Press the “Home button”, scroll to “Settings”, and then select “Maintenance”, and lastly click on “Print Diagnostics Page”.
- If you correctly follow the instructions based on your printer model, you will get a printout of the test page.
Second Method: Xerox printer software
- Open any of the Xerox software available: “Xerox Global Print Driver”, “Xerox CentreWare Web Interface”, or “Xerox Smart Start”.
- Navigate to either “Maintenances” or “Settings” section.
- Check for a “print test page” option.
- Follow the instructions to get a print test on printer paper.
Samsung Printers
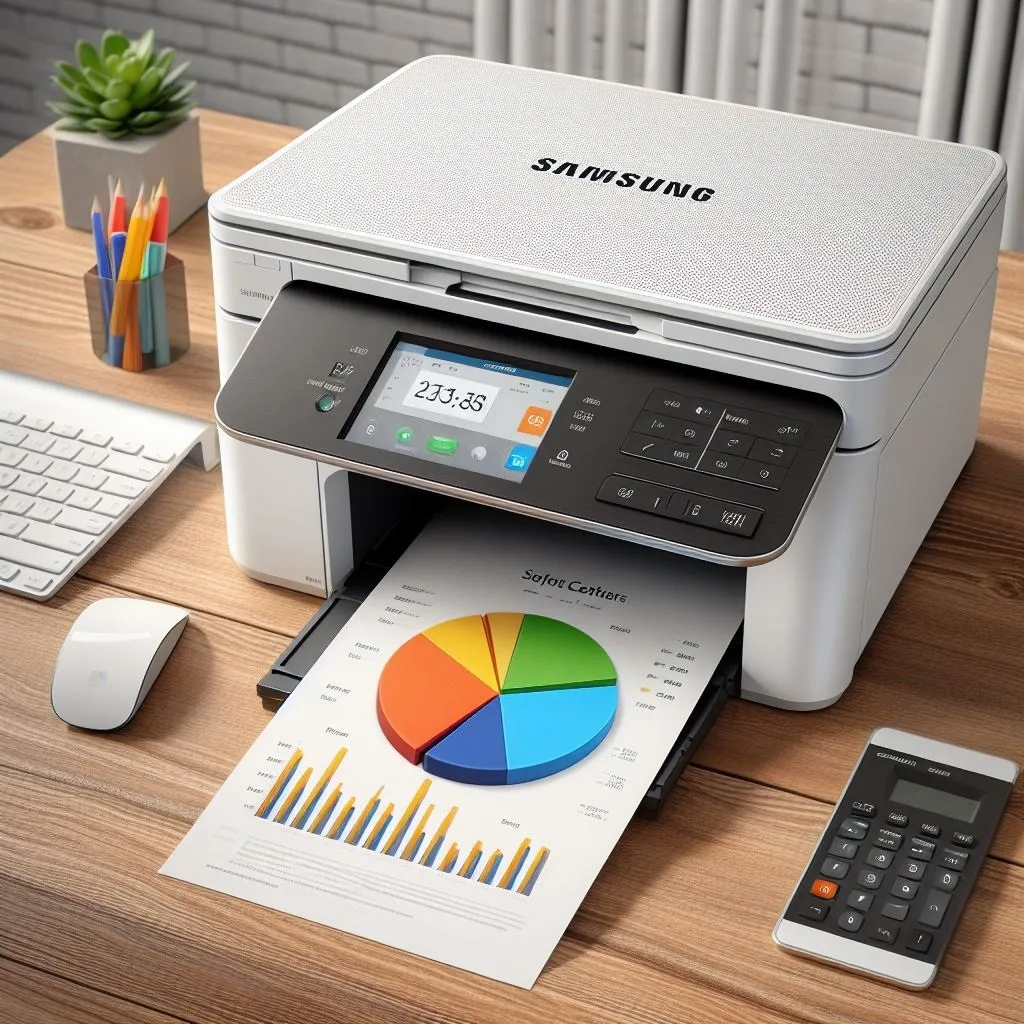
Samsung printers can print a test page, either using a dedicated button or directly for the Samsung software.
First Method: Using the Samsung Printer button
- Turn on your printer and load the tray with printer paper.
- Identify the Samsung printer model:
- Older models: Press the “Menu button”, select “System Setup”, choose “Report”, and then select “Configuration Page”.
- SL-M Series: Press and hold the “Cancel button” for 5 seconds.
- Xpress M Series: Press and hold the “Power button” for 5 seconds.
- Your Samsung printer will print a test page using the above manual commands specific to the model of your printer.
Second Method: Using Samsung Printer Software
- Open any of the available Samsung Printer software: “Samsung Mobile Print”, “Samsung Smart Printer Studio”, or “Samsung Easy Printer Manager”.
- Scroll to “Maintenances” or “Settings”.
- Find either of the options based on your printer model, “Diagnostics Test” or “Print Test Page”.
- You will get the desired “Printer Test Page” out of your Samsung printer.
Conclusion
In a nut shell, each printer has its own way of operation. Whereas the print a test page options vary depending upon the specific brand and its model. You can manually take a test page using dedicated keys elaborated in this article, or you can follow the instructions to use software for the same purpose. The Print test page is the best method to analyze the condition of your printer’s printing quality.
For more information on printer testing, you can visit our main page: Print Test Page.
Frequently Asked Questions (FAQs)
1. Click on “Apple Icon”
2. Select “Printer and Scanner” from the “System Preferences” option.
3. Scroll your “printer” from a given list.
4. Navigate to “Options and Supplies” and then a new window will open.
5. Select the “Utility” option.
6. Click on “Print a Test Page”.
7. The printer will print the test print.
1. Press and hold the “Power Button”.
2. Hold the power button and press the “Cancel Button” only one time.
3. After pressing the cancel button, release the power button.
4. Your HP printer will print a test page.