How to Clean Printer Heads Using a Test Page
Have you ever hit “print” and gotten a page full of missing lines, weird colors, or blank spots? Annoying, right? Before you panic and think about buying a new printer, there’s a simple fix you can try at home. It’s called cleaning your printer heads using a test page.
And the good news? You don’t need to be a tech expert to do it. You just need a few minutes and this easy guide. By the end of this article, you’ll know exactly how to print a test page, read the results, clean your printer heads, and get sharp, clean prints again. Let’s get started.
What Is a Printer Head and Why Does It Get Blocked?
Your printer head is the small part that sprays ink onto paper. Think of it like a tiny nozzle, similar to a garden hose sprayer. Over time, dried ink or dust can block these tiny nozzles. When that happens, you’ll notice:
- Faded text or images
- Streaky or lined prints
- Missing colors
- Blank patches on the page
This is where a printer test page becomes your best friend.
What Is a Printer Test Page?
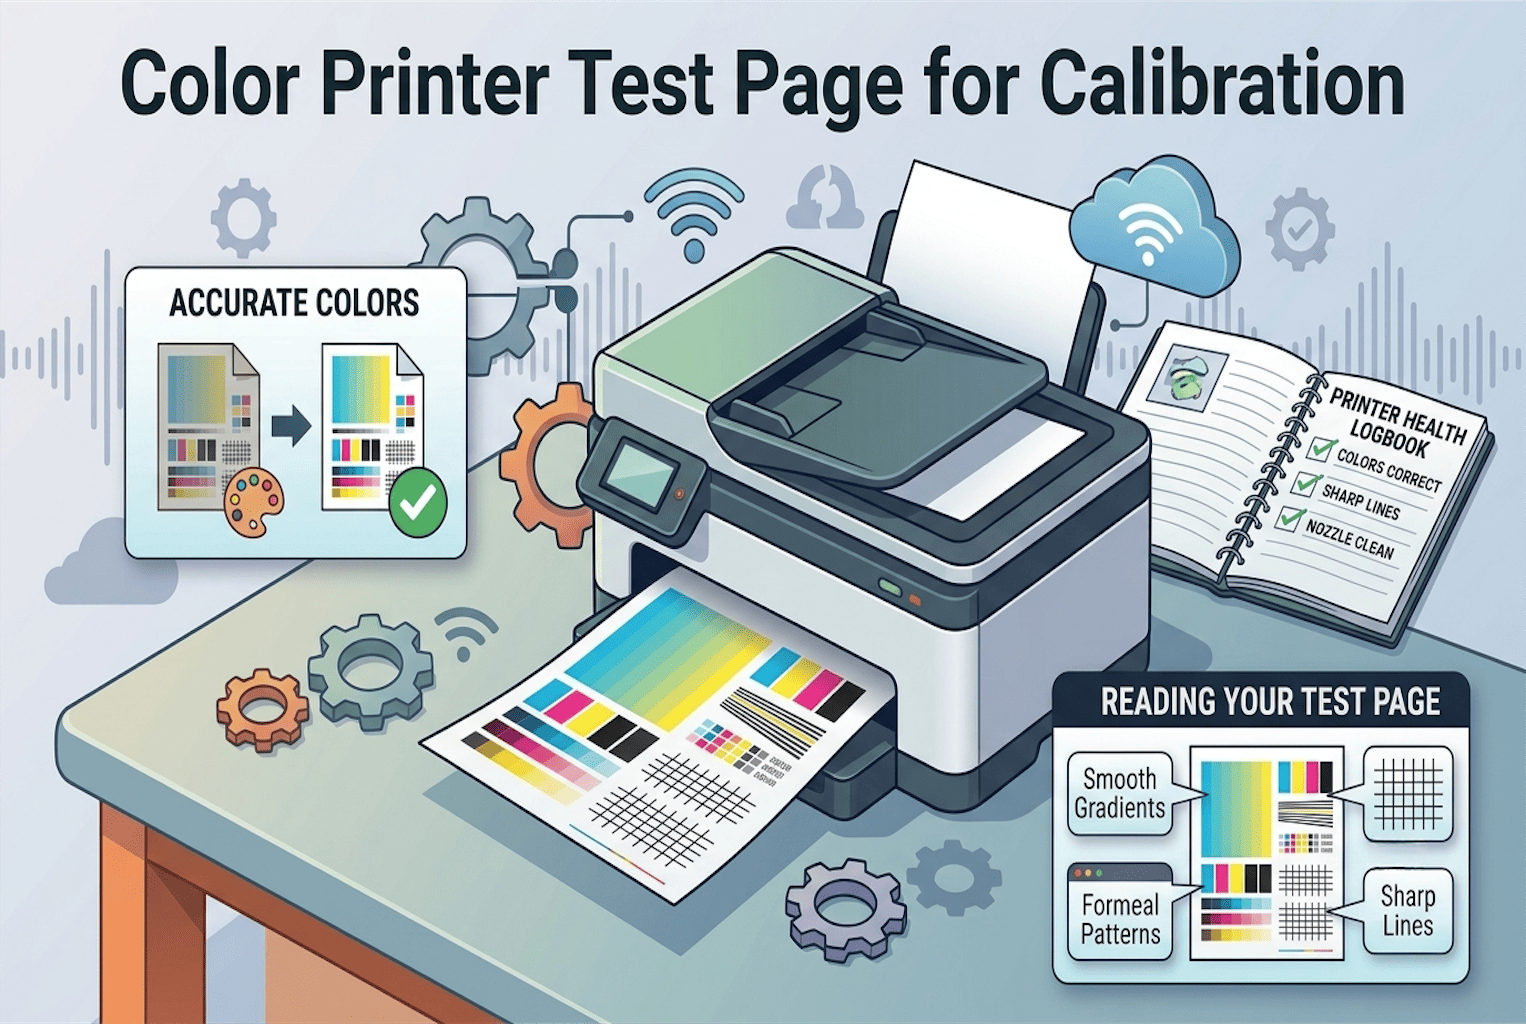
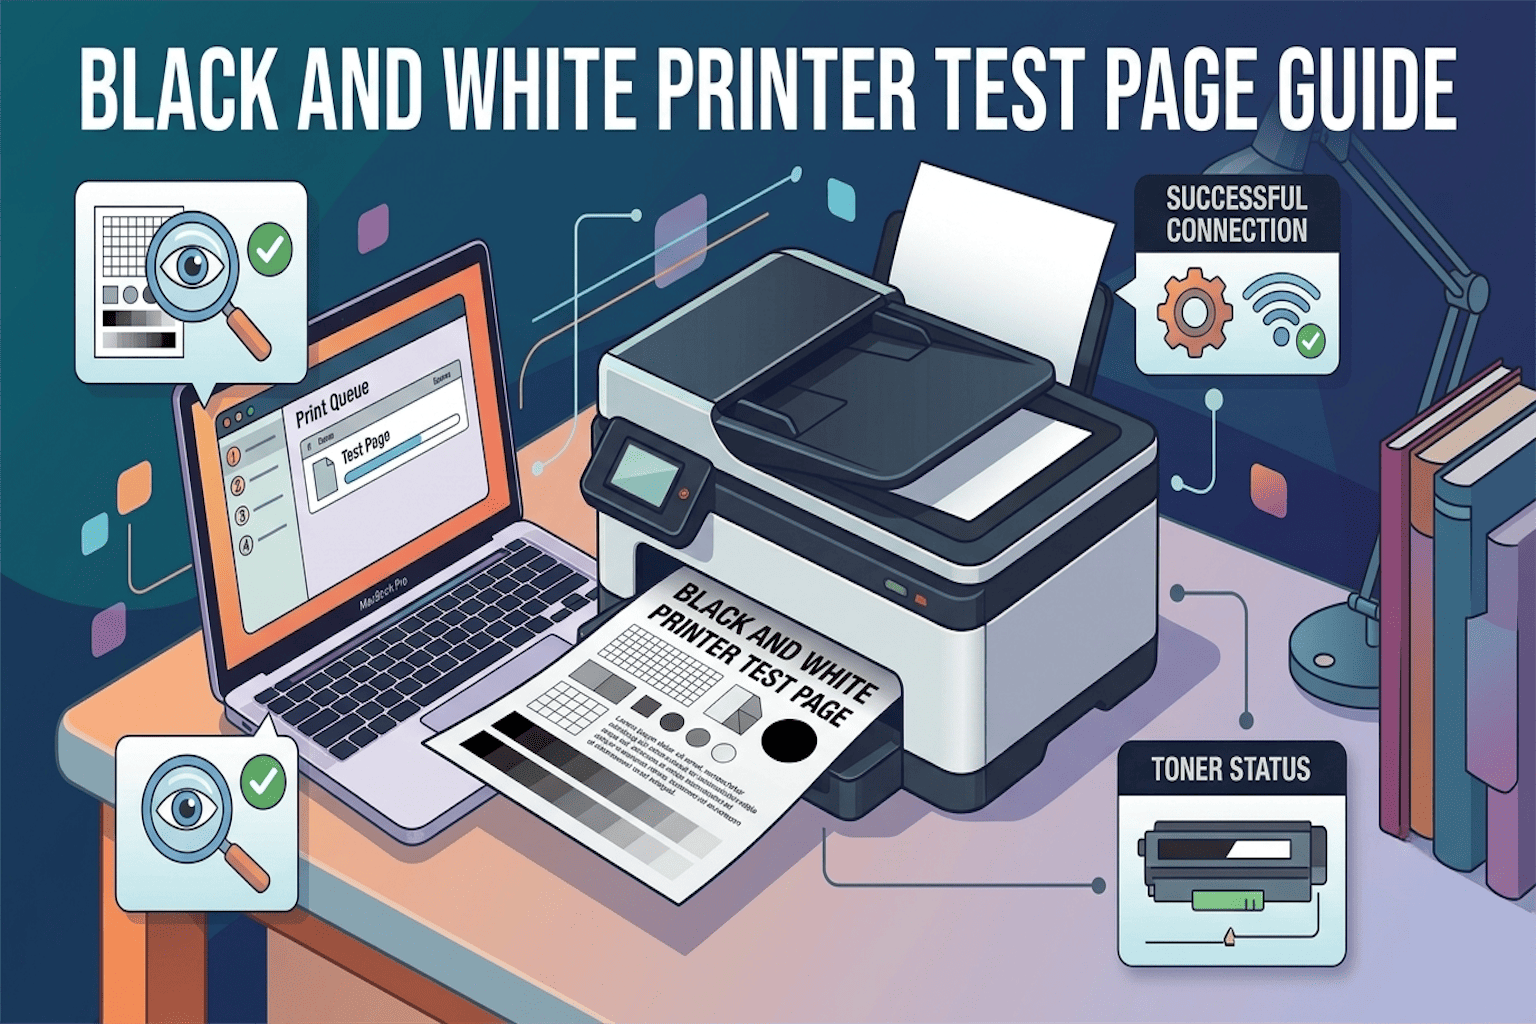
A printer test page (also called a nozzle check page) is a special page your printer prints to show you which nozzles are working and which ones are clogged. It usually looks like a small grid or pattern with different colors. If some lines are missing or faded, that part of the printer head needs cleaning. Think of it like a health check-up for your printer, done in under a minute.
Why You Should Clean Printer Heads Using a Test Page
Here’s why this simple method works so well:
- It’s free, so no extra tools or apps are needed.
- It’s fast, takes just a few minutes.
- It saves ink by avoiding wasting ink on bad prints.
- It extends your printer’s life by keeping it in good shape.
- It helps you fix the problem without calling a technician.
Now let’s go through the exact steps.
How to Clean Printer Heads Using a Test Page (Step-by-Step)
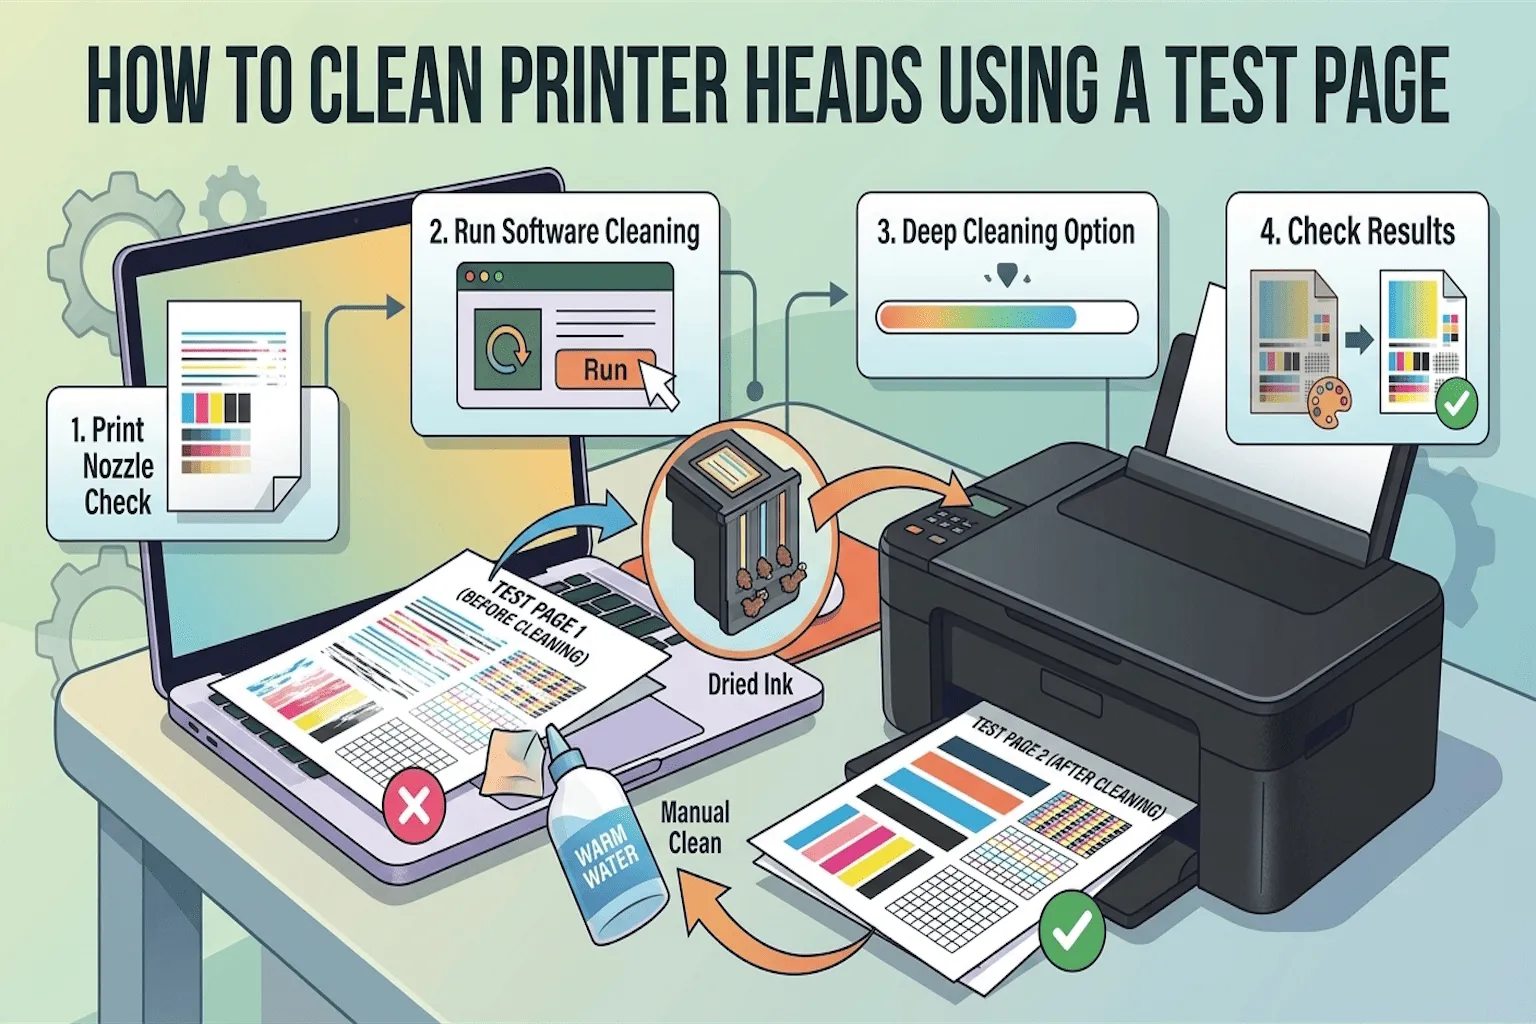
Step 1: Print a Test Page First
Before cleaning anything, check if cleaning is even needed.
- Open your printer settings on your computer (or use the printer’s screen if it has one).
- Look for “Maintenance”, “Tools”, or “Printer Utility”.
- Find the option called “Print Test Page” or “Nozzle Check”.
- Click it and let the printer print the page.
This test page shows you exactly which colors or lines are missing.
Step 2: Check the Test Page Carefully
Look closely at the printed page.
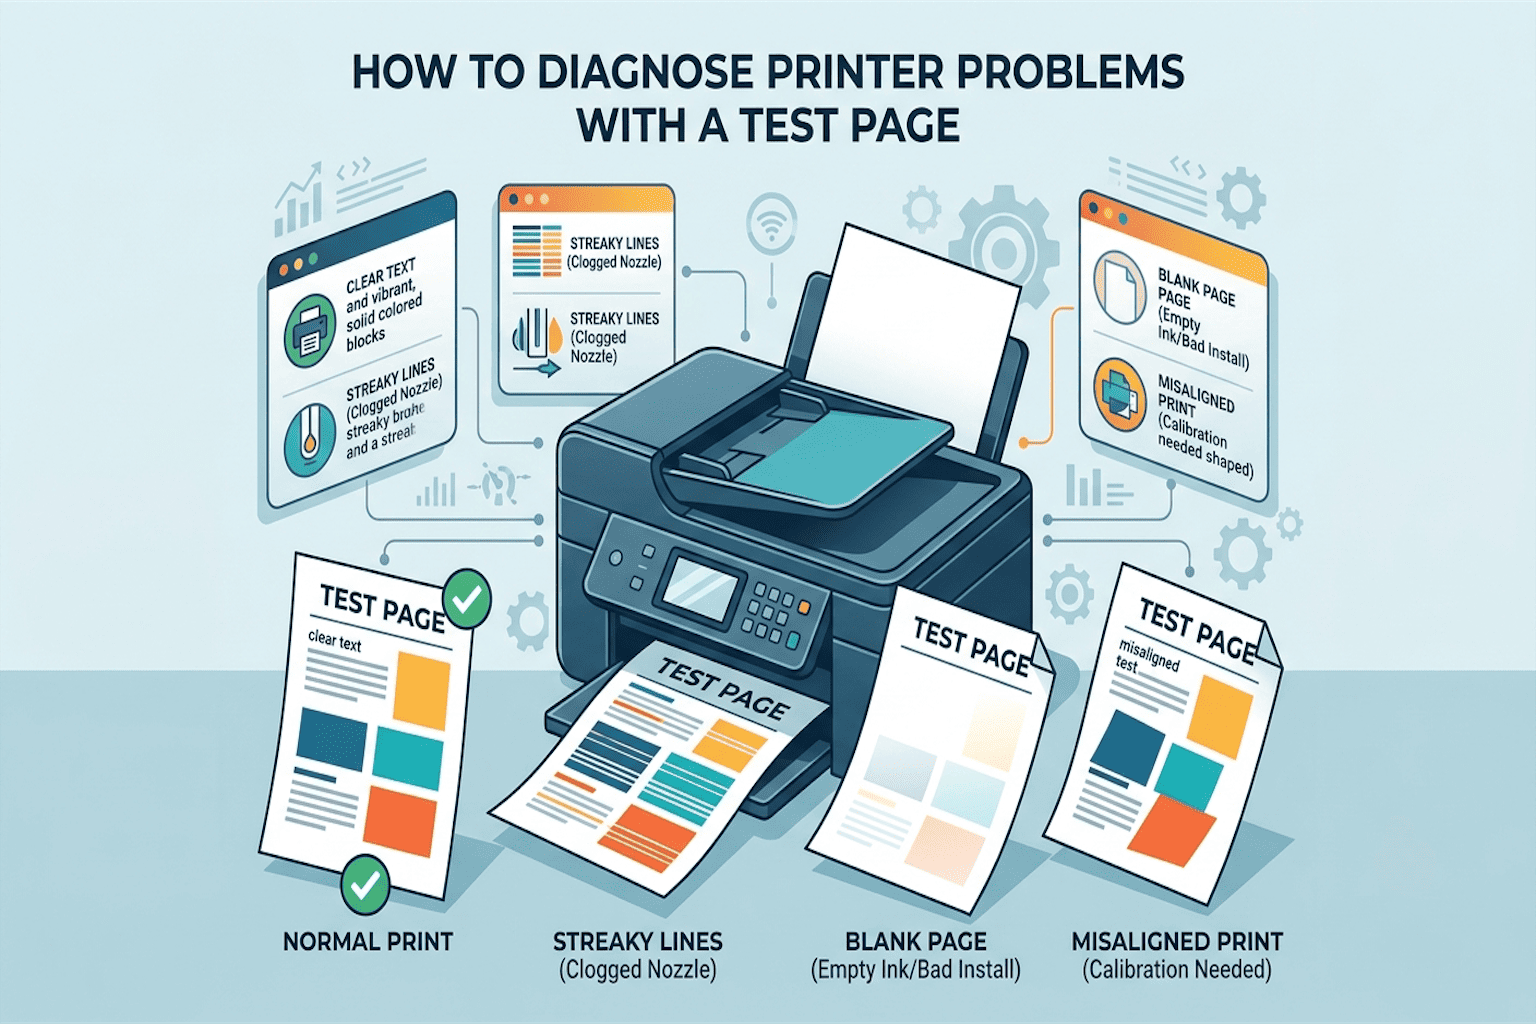
- If all lines are clear and solid, your printer heads are fine.
- If lines are broken, faded, or missing, it’s time to clean the heads.
Tip: Hold the page under good light to see small gaps easily.
Step 3: Run the Printer’s Built-In Head Cleaning Tool
Almost every printer, whether it’s HP, Canon, Epson, or Brother, has a built-in head cleaning tool.
- Go back to “Maintenance” or “Printer Tools”.
- Click “Clean Print Heads” or “Head Cleaning”.
- Wait a few minutes while the printer cleans itself. You may hear soft clicking or grinding sounds. That’s normal.
Step 4: Print Another Test Page
Once cleaning is done:
- Print the test page again.
- Compare it with the first one.
- If it looks better but still has gaps, run the cleaning cycle one more time.
Important: Don’t run the cleaning tool more than 2—3 times in a row. It uses ink each time, and too much cleaning won’t help if the issue is something else, like a dried-out cartridge.
Step 5: Try a Deep Cleaning (If Normal Cleaning Doesn’t Work)
If the basic cleaning didn’t fix it, most printers also offer a “Deep Cleaning” option in the same menu. This uses more ink but clears tougher clogs. Run it once, then print a test page again to check the results.
Step 6: Manually Clean the Print Head (For Stubborn Clogs)
If software cleaning isn’t working, you can try a gentle manual clean:
- Turn off the printer and unplug it.
- Open the cartridge area and carefully remove the print head (check your printer manual for this, since steps vary by brand).
- Use a lint-free cloth and a little warm water to gently wipe the nozzle area. Avoid alcohol or harsh chemicals.
- Let it air dry for 10-15 minutes.
- Put it back, turn on the printer, and print a test page again.
Note: Skip this step if you’re not comfortable opening your printer. Many home printers don’t need this at all.
How Often Should You Clean Printer Heads?
You don’t need to clean your printer heads every day. Here’s a simple rule:
- If you print often (daily), check every 2-3 weeks
- If you print rarely, check before big print jobs
- Always check if you notice streaky or faded prints
Regular test pages help you catch problems early, before they get worse.
Common Mistakes to Avoid
- Don’t skip the test page and clean blindly. It wastes ink.
- Don’t run cleaning cycles too many times in a row.
- Don’t use rough clothes or sharp tools on the print head.
- Don’t ignore the problem. Clogged heads can get worse and cost more to fix later.
Final Thoughts
A clogged or blocked printer head can be frustrating, but it’s usually an easy fix. By learning how to clean printer heads using a test page, you can solve most printing problems yourself, without spending money on repairs or a new printer. Next time your prints come out streaky or faded, don’t stress. Just print a test page, follow these steps, and get back to clean, clear prints in minutes.
Frequently Asked Questions
1. How do I know if my printer head is clogged?
Print a test page (also called a nozzle check page). If you see broken lines, faded colors, or blank streaks, your printer head is clogged and needs cleaning.
2. How many times can I run the printer head cleaning cycle?
It’s best to run it 2—3 times in a row at most. If the test page still looks bad after that, the issue might be low ink, an old cartridge, or a deeper clog that needs manual cleaning.
3. Does cleaning printer heads waste ink?
Yes, a little. Each cleaning cycle uses a small amount of ink to push out clogs. That’s why it’s smart to print a test page first, so you only clean when it’s actually needed.
4. Can I clean printer heads without opening the printer?
Yes. Most of the time, the built-in cleaning tool in your printer settings is enough. Manual cleaning is only needed for stubborn clogs that don’t clear with the software tool.
5. Why does my printer still print streaky lines after cleaning?
This usually means the cartridge is low on ink, old, or dried out. Try replacing the cartridge, then print a fresh test page to see if the streaks are gone.