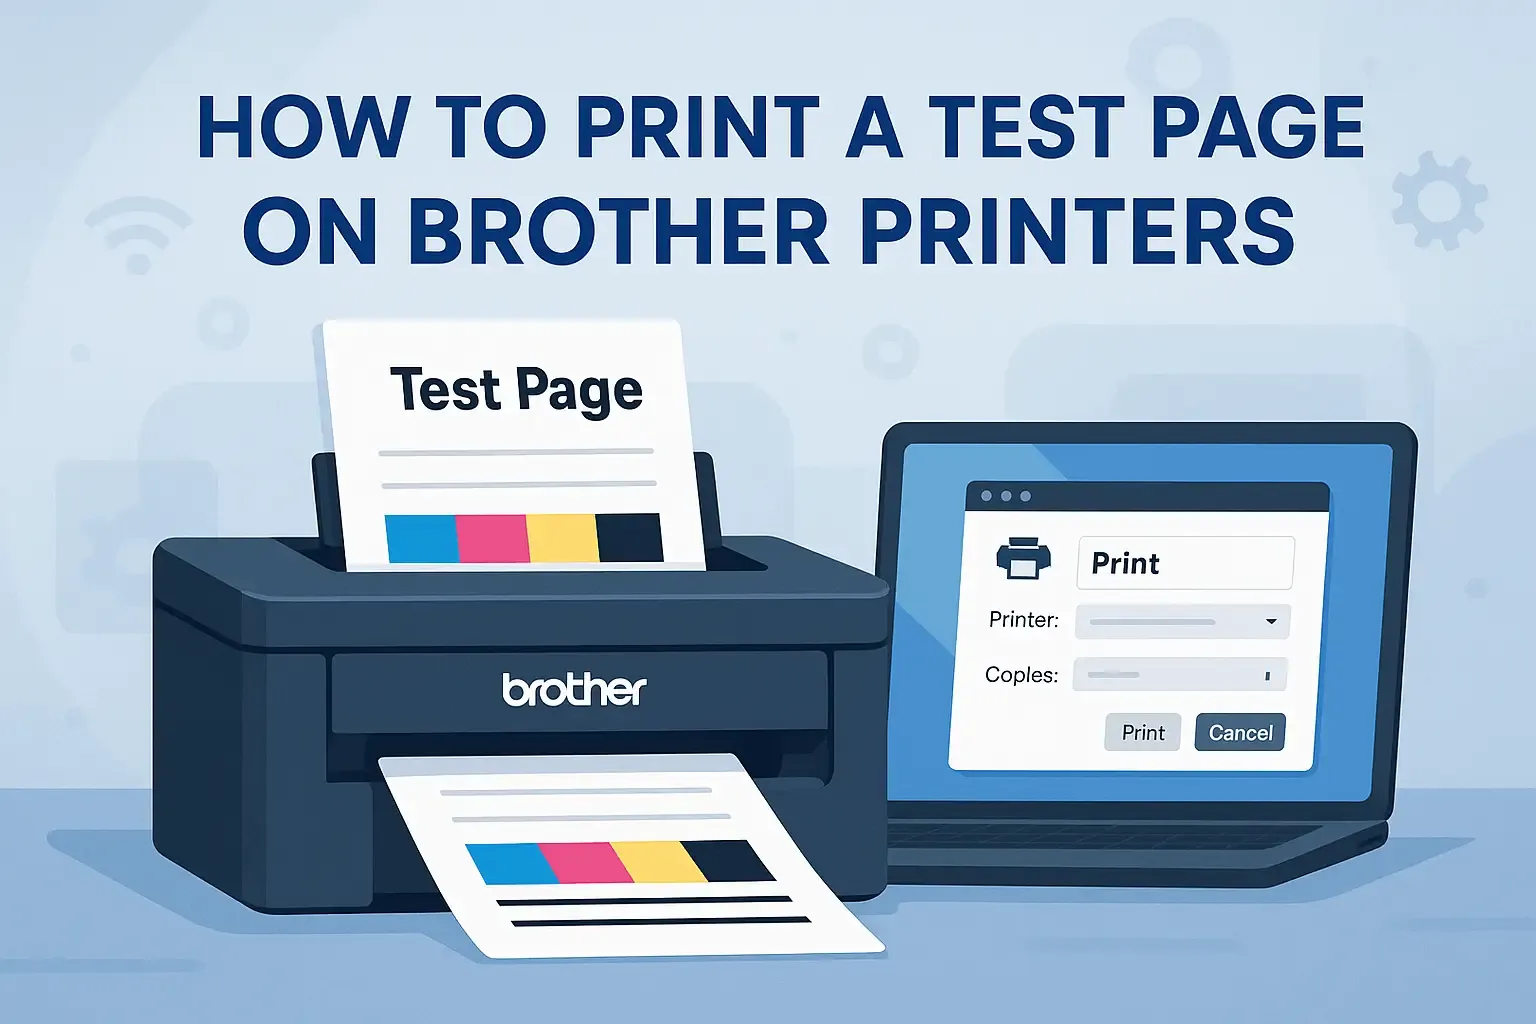
How to Print a Test Page on Brother Printers
Printing a test page on your Brother printer is a quick and easy way to evaluate print quality, diagnose issues, and ensure that your equipment is properly configured. Brother printers have both manual hardware button techniques and software-based solutions for printing test pages. This article covers both ways, making it easy to follow regardless of whatever model you own.
Method 1: Manual Test Page Printing on Brother Printers
- Turn on your Brother printer and load plain printer paper.
- Use the printer’s control panel to open the Menu.
- Navigate to the “Machine Info” or “Information” section.
- Select the option labeled “Print Test” or “Test Page”.
- Press “OK” or “Start” to confirm.
- Your Brother printer will print a test page showing all necessary diagnostic information.
For Older Brother Printer Models:
- Make sure the printer is turned off.
- Press and hold the “Go” button.
- While holding “Go,” turn on the printer.
- Release the “Go” button when the printer lights turn on.
Steps to Print a Test Page via Brother Printer Software:
- Open your computer’s Control Panel.
- Navigate to “Devices and Printers” or “Printers & Scanners” depending on your operating system.
- Locate your Brother printer in the list of installed printers.
- Right-click on the printer icon and select “Printer properties”.
- In the properties window, click on the “General” tab.
- Click the “Print Test Page” button.
- Follow any on-screen prompts; your Brother printer should print the test page immediately.
Using the software method is useful if you want to verify printer settings or troubleshoot issues from your computer without physically interacting with the printer.
Why Print a Test Page on Brother Printers?
- To check ink or toner levels and color accuracy.
- To verify that your printer is correctly installed and configured.
- To detect any print defects, streaks, or alignment issues.
- To diagnose hardware issues such as clogged nozzles or cartridge problems.
Pro Tips for Optimal Test Printing
- Always use plain, white printer paper to get the clearest test page output.
- If the test page reveals problems like missing lines or faded text, run the cleaning or calibration cycle from your printer’s maintenance menu.
- Perform regular test prints to keep your Brother printer in top condition—especially if it isn’t used daily.
- Refer to your printer’s user manual for model-specific instructions, as menu names and button functions may vary slightly.
Common Test Page Issues and Troubleshooting
- No test page printing? → Ensure the printer is powered on and properly connected to your computer or network.
- Test page prints with streaks or missing colors? → Run the printer’s cleaning or nozzle check utility.
- Printer won’t respond to manual commands? → Try restarting your printer or reconnecting it to the power source.
- Test page prints but poor quality? → Check for low ink or toner and replace cartridges if needed.
By using either the manual or software method, you can easily print a test page on your Brother printer and keep your device running smoothly. Regularly printing test pages helps maintain print quality and catch issues early before they affect your important documents.