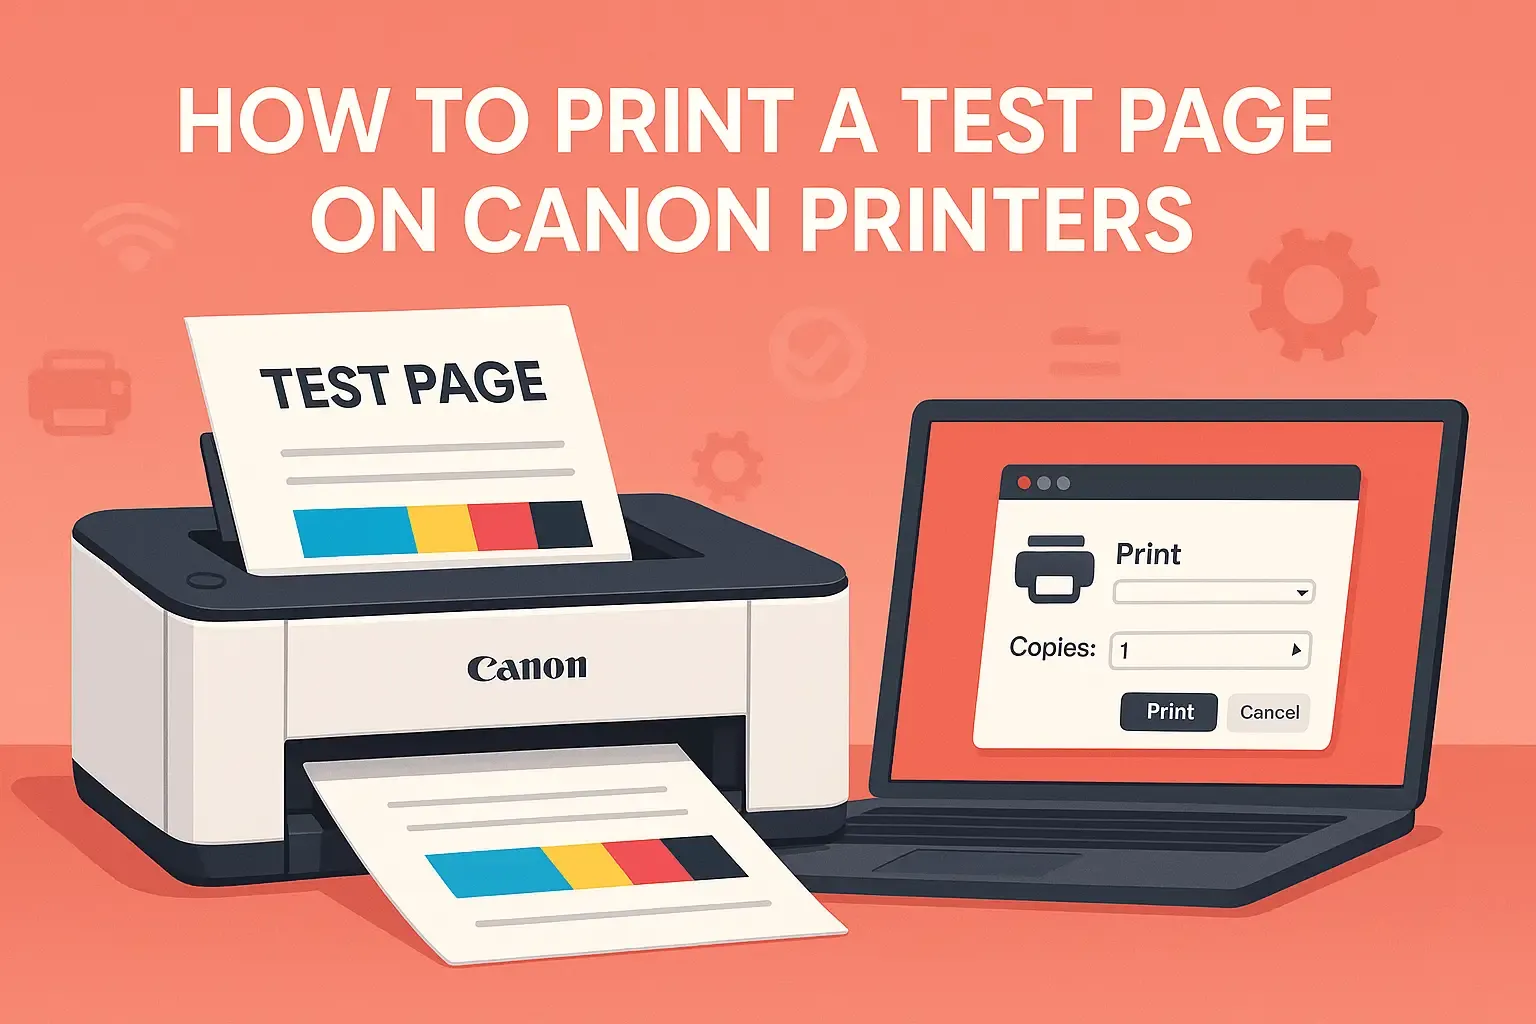
How to Print a Test Page on Canon Printers
Running a printer test page on your Canon printer is one of the simplest and most effective ways to assess its performance. Whether you’re seeing streaks in your prints or merely setting up a new device, a test page can help you uncover frequent print concerns like clogged nozzles or low ink levels before they become critical.
Canon printers have two options for printing a test page: utilizing the printer’s built-in control panel or the Canon printer software on your computer. This article will walk you through both alternatives for several Canon models, including Pixma, MX Series, and ImageCLASS.
Method 1: Using Canon Printer Buttons (Manual Test Page)
Depending on the model of your Canon printer, the manual method may vary. Below are the steps for the most common Canon series.
📌 For Canon Pixma Series:
- Make sure your printer is powered on and has paper loaded.
- Press and hold the “Cancel” or “Resume” button.
- Keep holding until the alarm light flashes twice.
- Release the button after the second flash.
- The printer will automatically print a test page.
This method works well for most Canon Pixma models and is a quick way to perform a basic nozzle check.
📌 For Canon MX Series:
- Turn on your printer and load paper in the input tray.
- Press the “Menu” button on the printer.
- Navigate to “Setup” using the arrow keys and select it.
- Go to “Maintenance” and choose “Nozzle Check”.
- Press “OK” to confirm your choice.
The nozzle check page helps you spot any missing ink patterns and evaluate the printhead condition.
📌 For Canon ImageCLASS Models:
- Power on your printer and ensure paper is loaded.
- Press the “Stop” button.
- Wait until the power light flashes green twice, then release the Stop button.
- Your Canon ImageCLASS printer will print a test page automatically.
This is an effective way to test black and color printing without using the software.
Method 2: Using Canon Printer Software (Computer Method)
If your Canon printer is connected to a computer and the required software is installed, this method is ideal for a more detailed test.
Steps:
- Open the Canon printer utility software installed on your computer.
- Navigate to the “Settings” or “Maintenance” section.
- Depending on your printer model, look for options such as:
- “Nozzle Check”
- “Print Test Page”
- “Print Head Alignment”
- “Self-Test Print”
- Click on the relevant option and follow the on-screen instructions.
- The printer will output a diagnostic test page.
This method is useful if you’re troubleshooting color accuracy, alignment issues, or running regular maintenance.
🔧 Why Print a Test Page on Your Canon Printer?
- Diagnose print quality problems like smudging, fading, or missing colors.
- Check ink levels and nozzle conditions.
- Ensure printer setup is complete after installation.
- Verify connectivity and driver configuration with your computer.
✅ Final Tips for Accurate Test Page Results
- Always load plain, clean paper into the input tray before printing a test page.
- Make sure your printer is not in an error state before starting the test.
- Regularly performing nozzle checks can help maintain the printer in good condition.
- If your test page shows missing lines or poor quality, run a cleaning cycle from the maintenance menu.
By using either the hardware or software method mentioned above, you can easily print a test page on almost any Canon printer model. Keeping your printer well-maintained with occasional test pages ensures long-lasting, high-quality performance.