How to Check Printer Alignment
Are your printed pages coming out blurry? Do your lines look doubled, like you’re seeing double? If yes, don’t worry, you’re not alone, and the fix is easier than you think. Most of the time, this annoying problem happens because of one small thing that is printer alignment.
When your printer’s ink or toner isn’t lined up right, everything you print looks a little “off.” The good news? You can fix it yourself in just a few minutes, no tech skills needed. In this guide, we’ll show you exactly how to check printer alignment, step by step. Let’s get your printer back to printing clean pages again.
What Is Printer Alignment and Why Does It Matter?
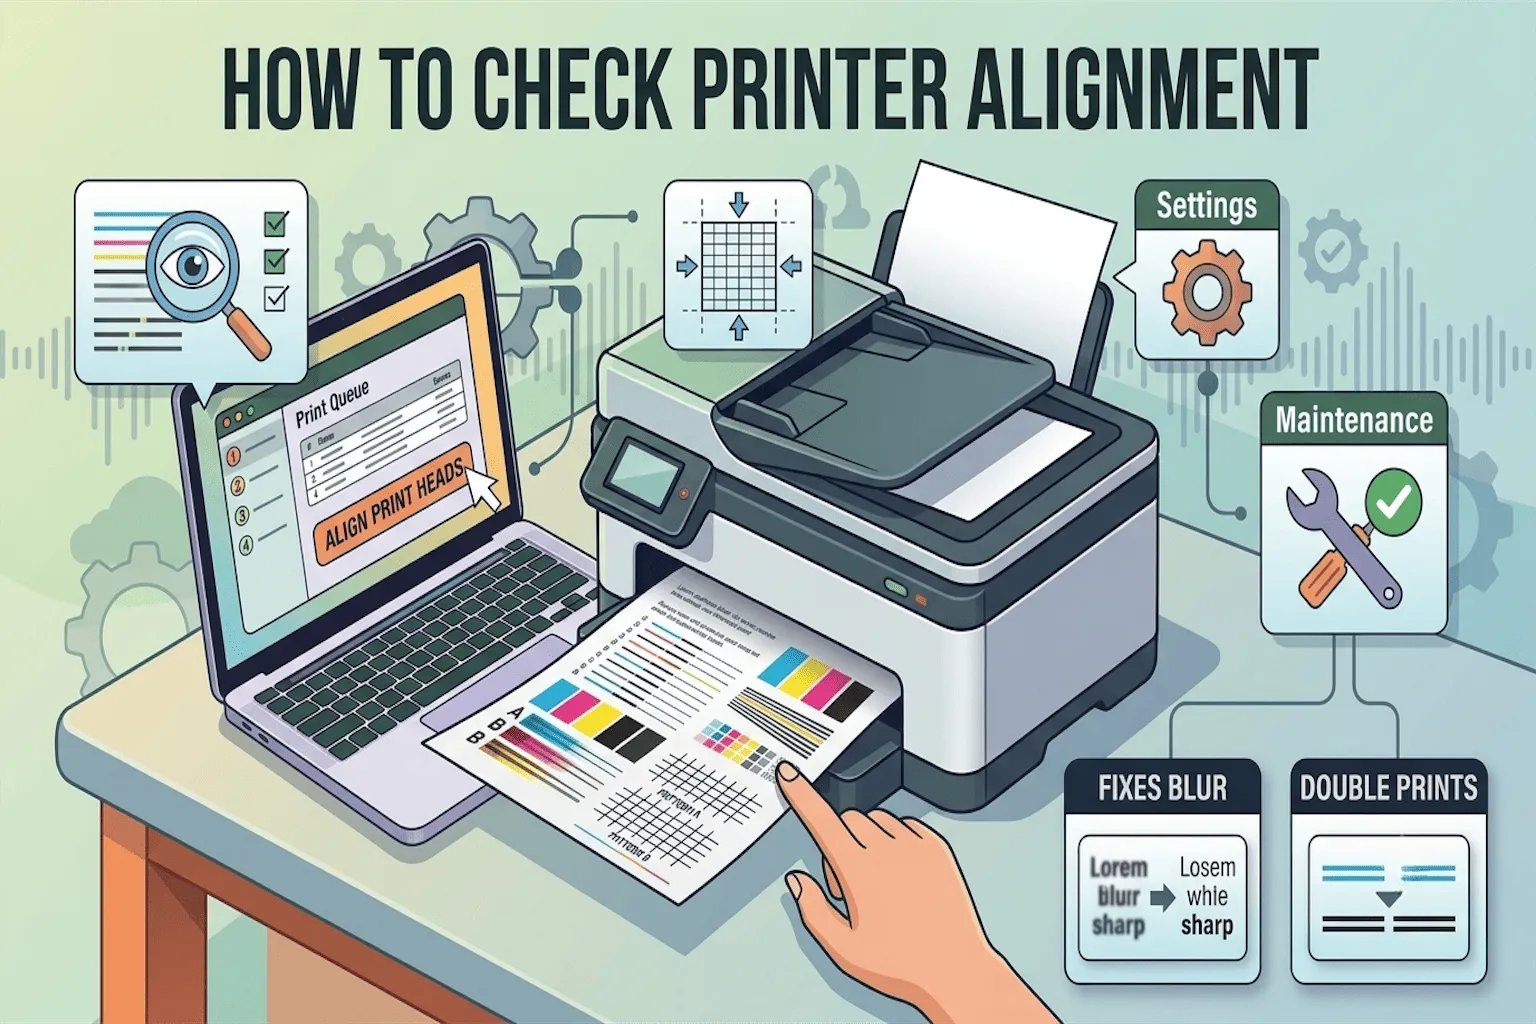
Think of your printer like a tiny artist. It uses small print heads to place ink on the page, dot by dot, line by line. When those print heads are lined up correctly, your text and pictures look sharp and clean. But if the print heads shift even a tiny bit, your printer starts putting ink in the wrong spot. This is called misalignment. It can make your prints look:
- Blurry or fuzzy
- Streaky
- Slightly crooked or twisted
- Doubled, like a shadow effect
Checking your printer alignment regularly helps you catch this problem early, before it wastes your paper and ink.
Signs Your Printer Needs an Alignment Check
Before you jump into fixing it, here’s how to know if your printer really needs an alignment check:
- Straight lines look wavy
- Text looks smudged or doubled
- Colors don’t match up correctly in photos
- Print quality suddenly dropped after changing ink or toner
If you noticed any of these, it’s time to run a quick printer alignment test.
How to Check Printer Alignment on Windows
Checking your printer alignment on a Windows computer is simple. Here’s how:
Step 1: Open Your Printer Settings
Click the Start Menu, then go to Settings. From there, select Devices, and then click Printers & Scanners.
Step 2: Choose Your Printer
Find your printer’s name in the list and click on it. Then select Manage.
Step 3: Find the Alignment Tool
Look for an option called Printer Properties or Printing Preferences. Inside, you’ll usually see a tab labeled Maintenance or Utility.
Step 4: Run the Alignment Test
Click Align Print Heads or Print Alignment. Your printer will print a test page with numbered patterns. Follow the on-screen instructions to pick the straightest line for each pattern.
That’s it! Your printer will automatically adjust itself.
How to Check Printer Alignment on Mac
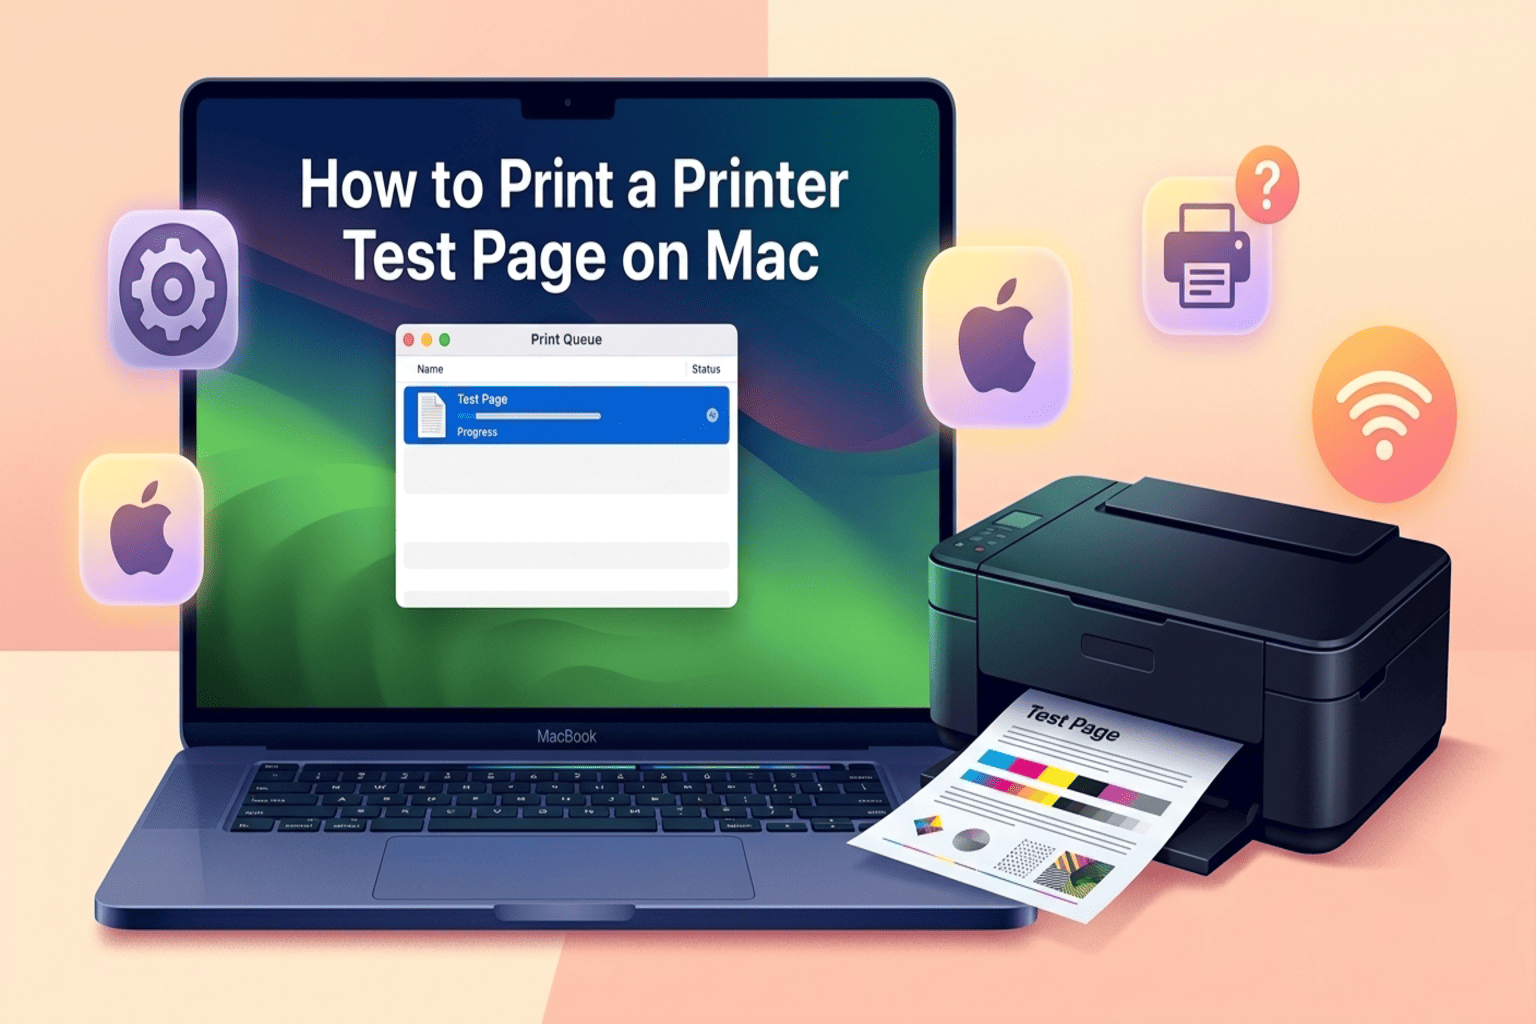
Mac users can check alignment almost as easily:
- Click the Apple menu, then choose System Preferences.
- Select Printers & Scanners.
- Click on your printer, then choose Options & Supplies.
- Go to the Utility tab and click Open Printer Utility.
- Find and click Align or Head Alignment.
Your printer will print a test sheet. Just follow the simple prompts to finish the alignment.
How to Check Printer Alignment by Brand
Different printer brands hide this tool in slightly different places. Here’s a quick breakdown using related keywords for the top brands:
HP Printer Alignment Check
Open the HP Smart app or HP Printer Assistant on your computer. Go to the Print Quality Toolbox, then click Align Printheads.
Canon Printer Alignment Check
Open Canon IJ Printer Assistant Tool. Click on the Maintenance tab, then select Print Head Alignment.
Epson Printer Alignment Check
Open the Epson Printer Utility. Click Print Head Alignment and follow the steps shown on your screen.
Brother Printer Alignment Check
Go to your printer’s control panel, select Settings, then Maintenance, and choose Improve Print Quality or Alignment.
How to Check Printer Alignment Directly From the Printer
Don’t want to use your computer? Many printers let you check alignment right from the built-in screen:
- Press the Menu or Settings button on your printer.
- Scroll to Maintenance or Tools.
- Select Print Head Alignment or Auto Alignment.
- Press Start and let the printer print a test page.
What to Do If Alignment Doesn’t Fix the Problem
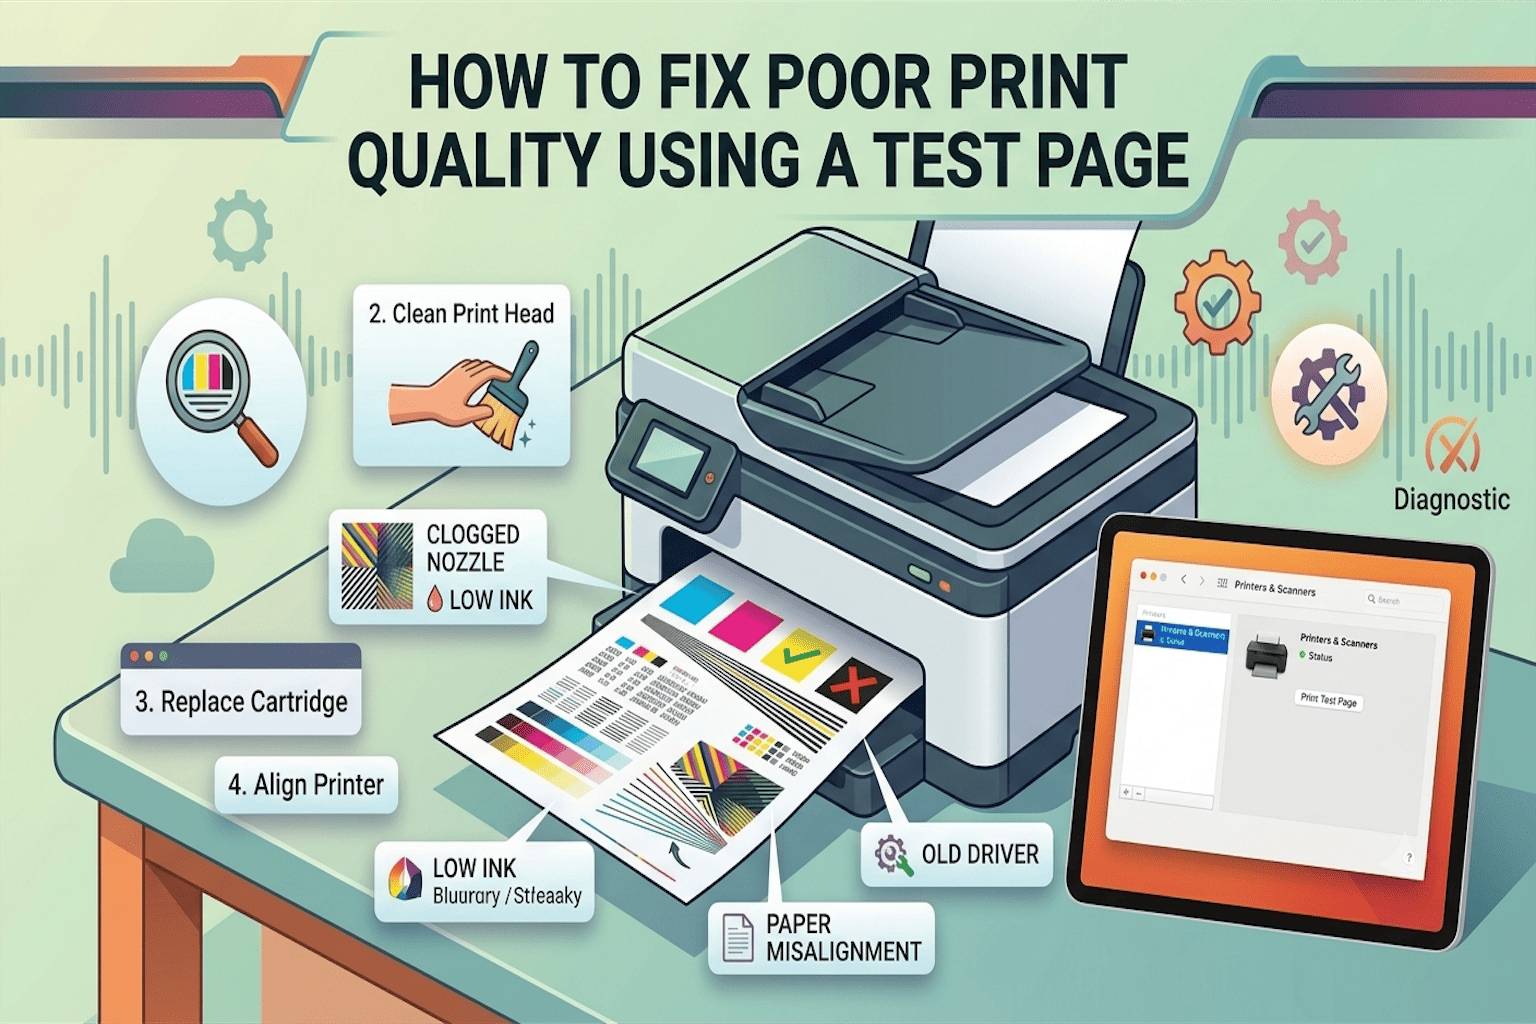
Sometimes, running the alignment test isn’t enough. If your prints are still blurry afterward, try these easy fixes:
- Clean the print heads using your printer’s cleaning tool.
- Check your ink or toner levels and replace if low.
- Use the correct paper size and type for your print job.
- Restart your printer and try the alignment test again.
If none of these work, it may be time to check your printer’s manual or contact the manufacturer’s support page for extra help.
How Often Should You Check Printer Alignment?
As a simple rule of thumb, check your printer alignment anytime you:
- Replace an ink or toner cartridge
- Notice blurry or crooked prints
- Move your printer to a new location
- Haven’t used your printer in a long time
Doing a quick check every few months also helps keep your printer running smoothly.
Final Thoughts
Learning how to check printer alignment doesn’t have to be stressful. With just a few clicks on your computer or printer screen, you can fix blurry, twisted, or doubled prints in minutes. Keep this guide, and your next print job will come out clean, sharp, and exactly how you want it.