How to Print a Printer Test Page on Windows
Is your printer acting up? Do you want to know if it’s working the right way before you print something important? What if there was a quick way to check, without calling tech support or reading a boring manual? The good news is that it only takes a few clicks to print a printer test page for Windows.
In this guide, you will learn how to print a printer test page on Windows in easy steps. We will show you the way for both Windows 10 and Windows 11. You do not need to be a computer expert. You just need to follow along, and you will be done in less than five minutes. Let’s get started.
Why Should You Print a Test Page?
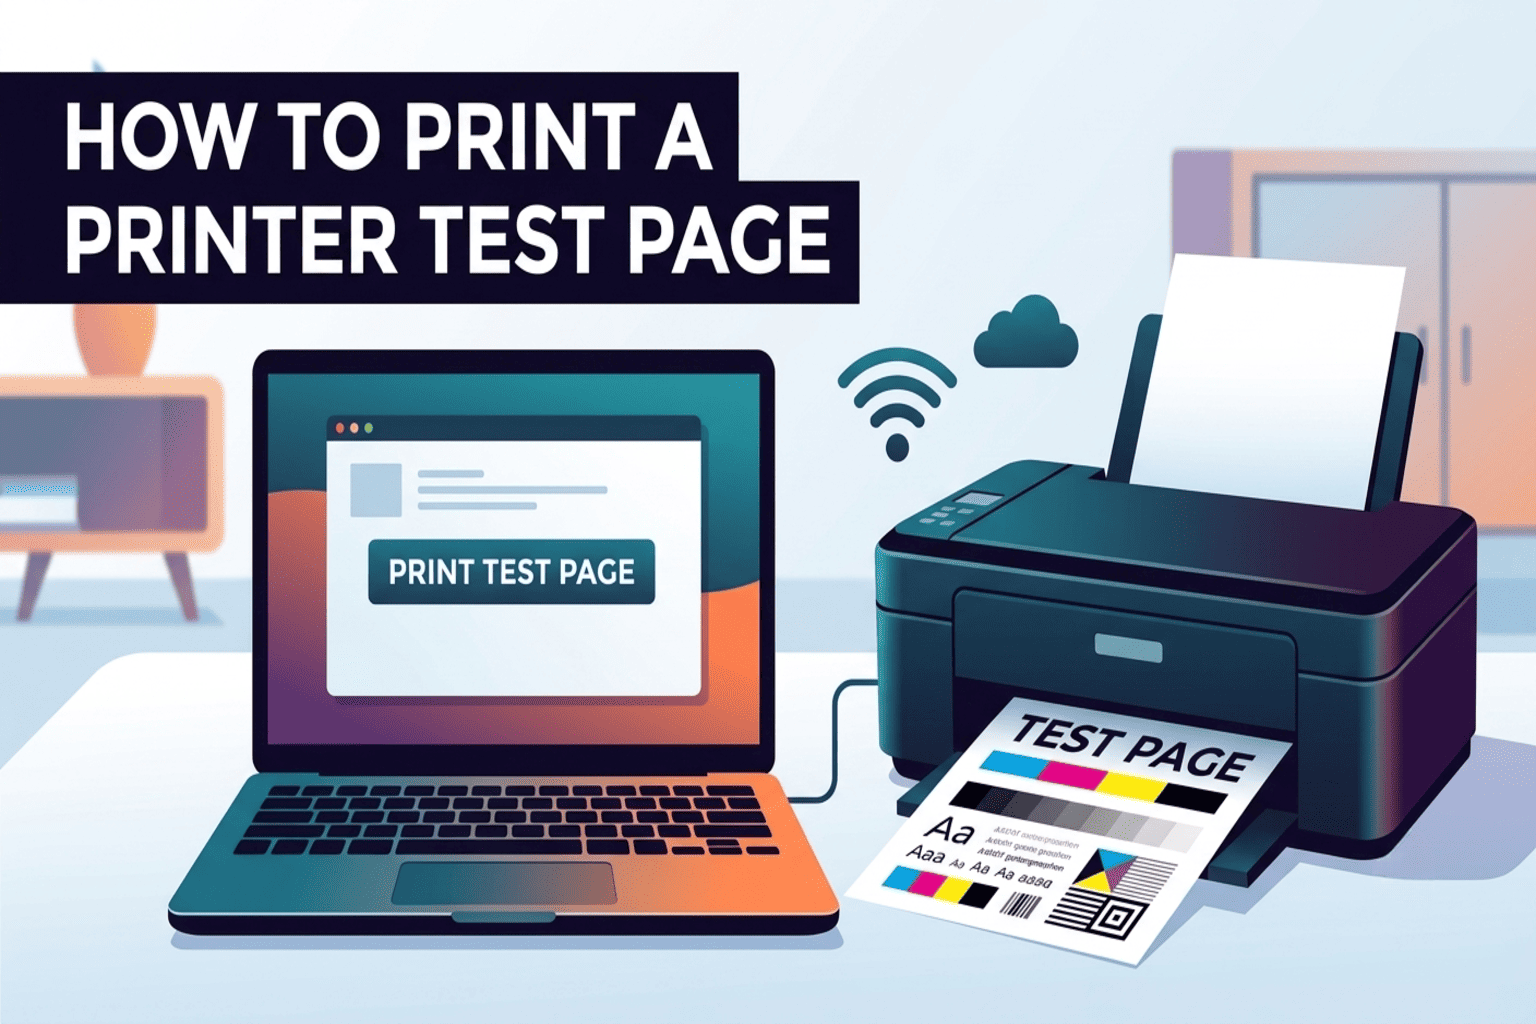
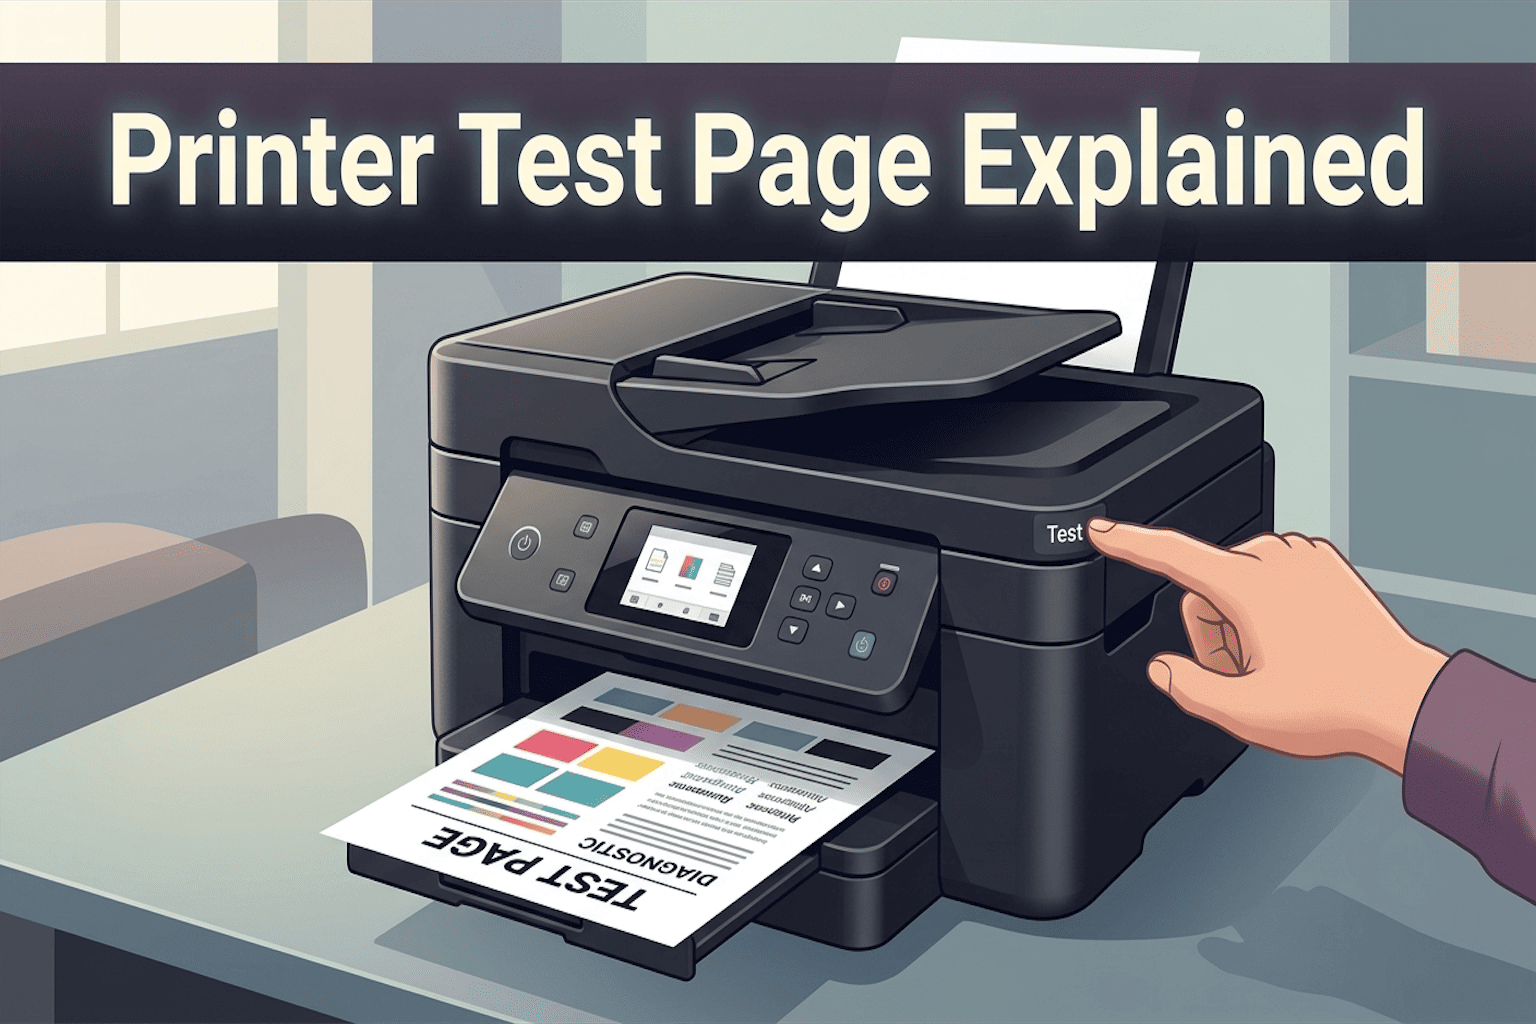
Before we jump into the steps, let’s talk about why this matters. A printer test page is a simple page that your printer prints out on its own. It shows colors, lines, and text. This page tells you if your printer is set up the right way. Here is what a test page can help you check:
- If your printer is connected to your computer the right way
- If the ink or toner is working well
- If the colors are printing clearly
- If there are any print quality issues, like streaks or faded spots
So, if your printer is skipping pages, printing blank sheets, or showing strange lines, a test page is the first thing you should try. It helps you find the problem fast.
What You Need Before You Start
You do not need much. Just make sure you have:
- A printer that is turned on
- A printer that is connected to your computer (by cable or Wi-Fi)
- Paper loaded in the printer tray
- A computer running Windows 10 or Windows 11
Once you have these ready, you can move to the next part.
How to Print a Test Page on Windows 11
Here is the easy way to print a test page if you use Windows 11.
Step 1: Open Settings
Click the Start button. Then click on Settings (it looks like a small gear icon).
Step 2: Go to Bluetooth & Devices
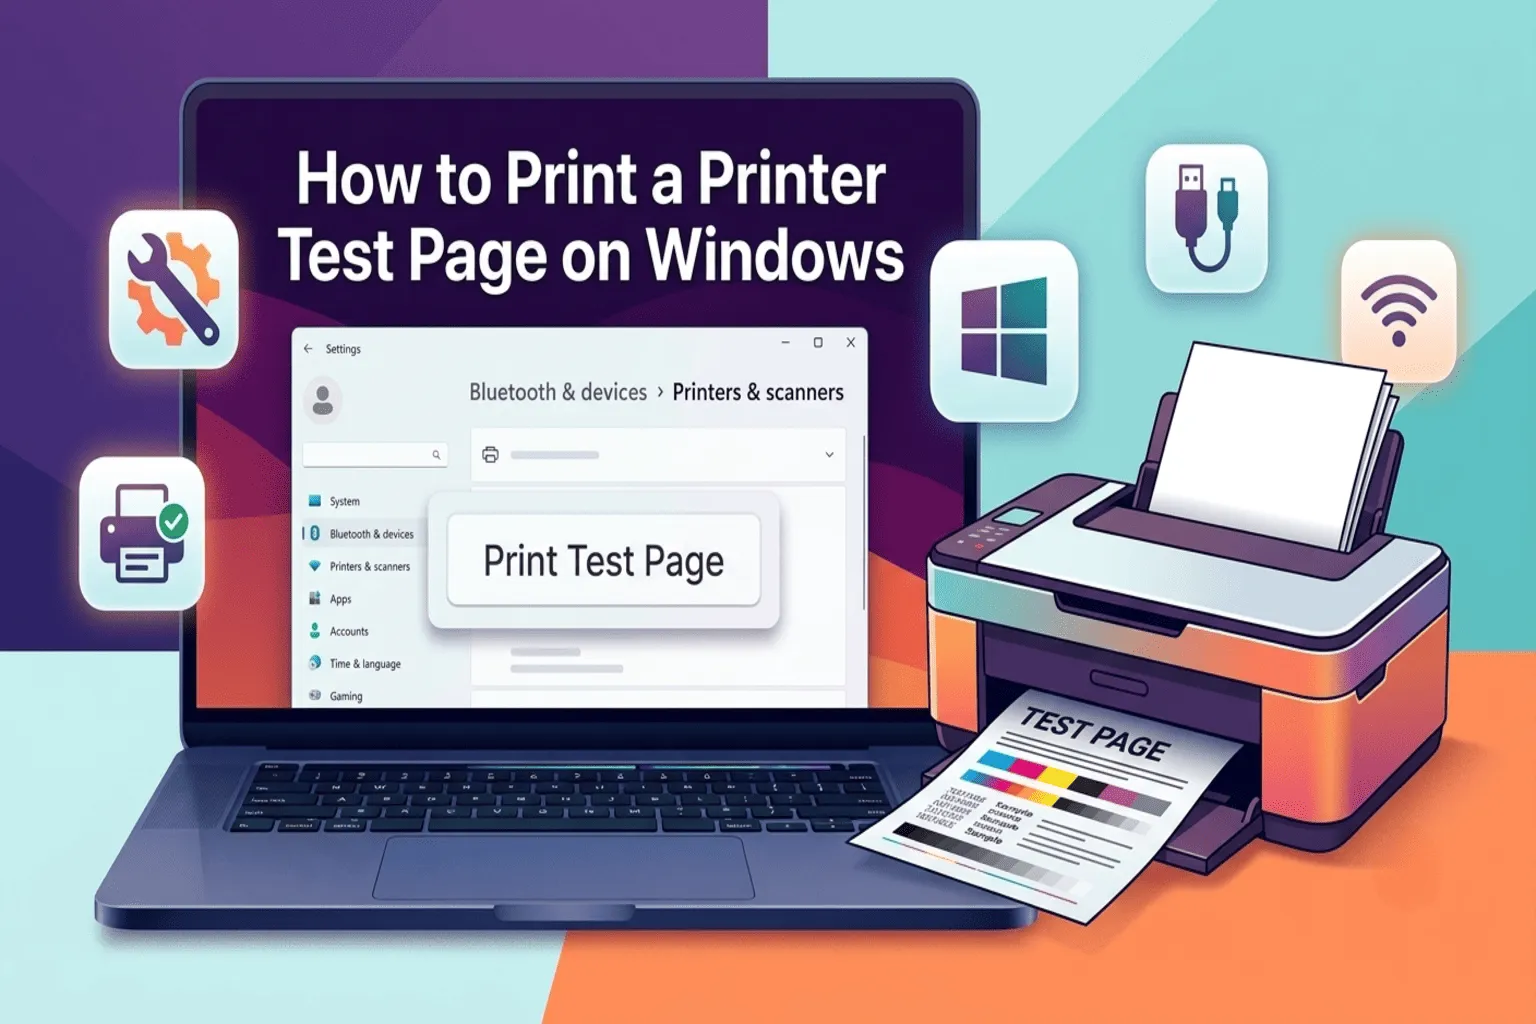
In the Settings menu, click on Bluetooth & devices. Then click on Printers & scanners.
Step 3: Choose Your Printer
You will see a list of printers. Click on the printer you want to test.
Step 4: Open Printer Properties
Click on Printer properties. This will open a new small window.
Step 5: Print the Test Page
Look for a tab called General. Inside this tab, you will see a button that says Print Test Page. Click on it. That’s it! Your printer should now print out a test page. If it prints clearly, your printer is working well.
How to Print a Test Page on Windows 10
If you are using Windows 10, don’t worry. The steps are almost the same, with just a small twist.
Step 1: Open Settings
Click the Start button, then click on Settings.
Step 2: Click on Devices
In the Settings window, click on Devices. After that, click on Printers & scanners.
Step 3: Select Your Printer
Find your printer in the list. Click on it, then click Manage.
Step 4: Find Printer Properties
Click on Printer properties. And then go to general settings.
Step 5: Click Print Test Page
Under the General tab, click on Print a test page. Your printer will now print a sample page.
What If the Test Page Does Not Print?
Sometimes, things do not go as planned. If your test page does not print, do not panic. Here are some quick fixes to try:
- Check the connection: Make sure your printer is properly connected. This means checking the USB cable or the Wi-Fi connection.
- Restart the printer: Turn your printer off, wait ten seconds, then turn it back on. This simple trick fixes many printer problems.
- Update the printer driver: An old or broken driver can stop your printer from working right. Go to Device Manager, find your printer, and check for updates.
- Check the paper and ink: Make sure there is paper in the tray and that the ink or toner is not empty.
- Restart your computer: This may sound simple, but it often solves hidden software issues.
If you try all these steps and the test page still does not print, it may be time to check your printer’s official support page or contact the manufacturer.
Common Printer Test Page Problems and Their Fixes
Let’s look at a few common issues people run into, and how to solve them.
Blank Test Page
If the page comes out blank, this usually means the ink or toner is empty. Additionally, it could mean the ink cartridge is not installed correctly. Check both before trying again.
Faded or Streaky Test Page
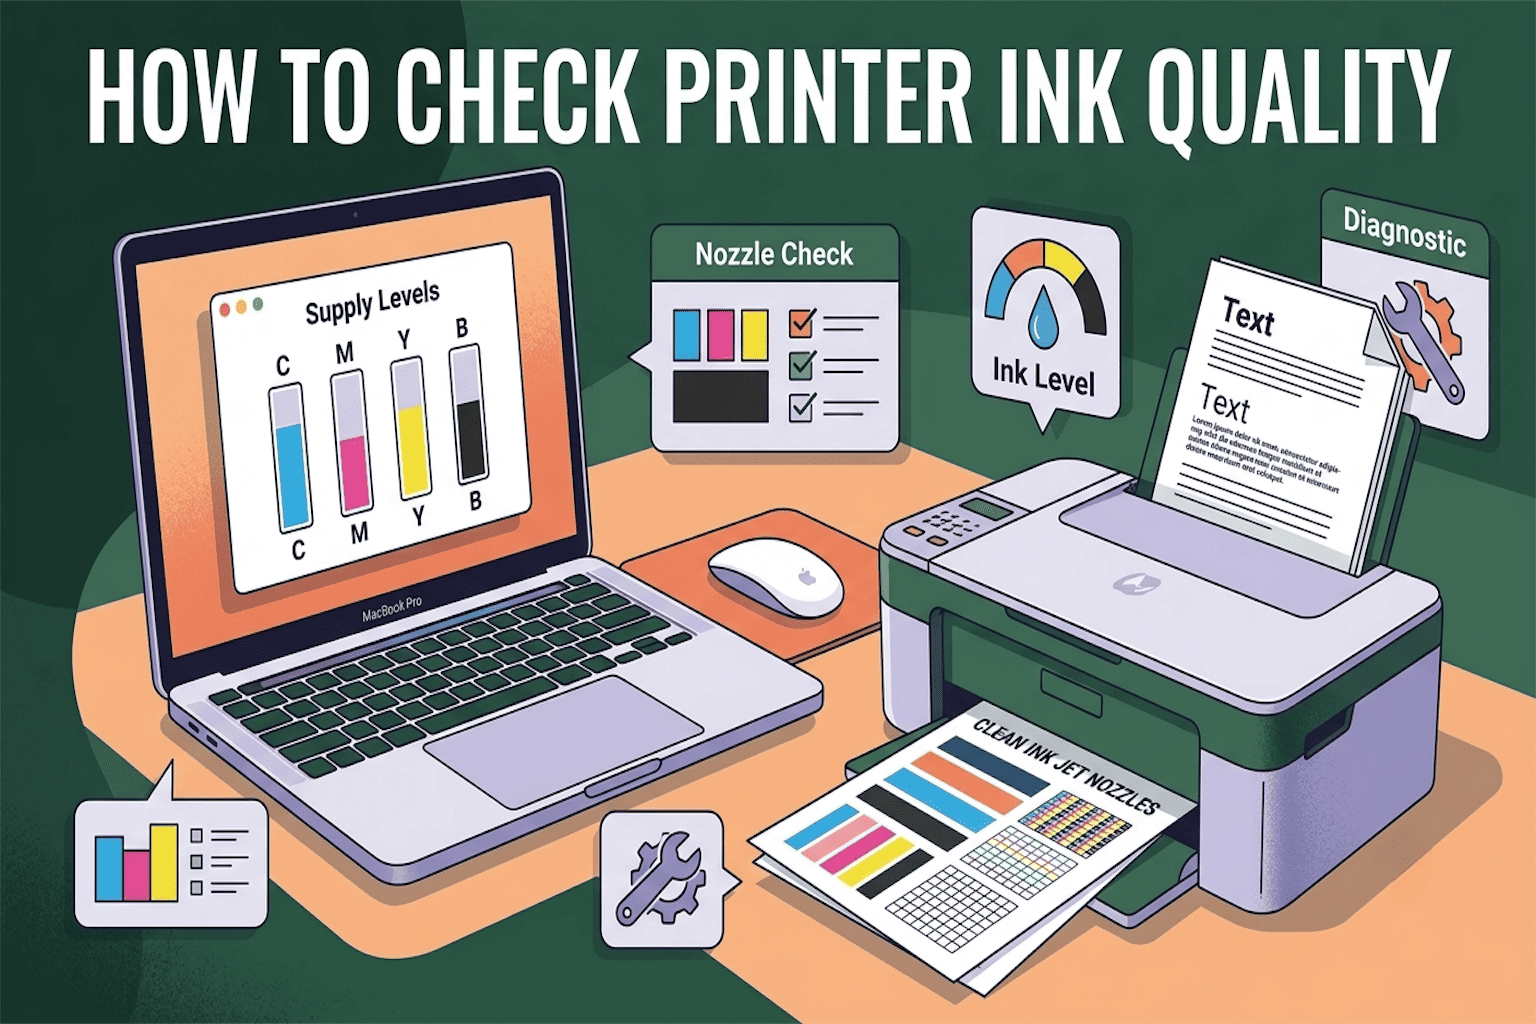
This often happens when the print head is dirty. Most printers have a cleaning tool built into their software. Running this tool can fix streaks and faded spots.
Printer Not Found
If Windows cannot find your printer at all, make sure it is turned on and connected. Also, check that you installed the correct printer driver.
Final Thoughts
Printing a test page is one of the easiest ways to check if your printer is working correctly. Whether you use Windows 10 or Windows 11, the steps are quick and simple. In short, all you need to do is open your Settings, find your printer, and click the test page button.
Now that you know how to print a printer test page on Windows, you can quickly spot problems before they turn into bigger headaches. So next time your printer seems off, don’t guess. Just run a quick test page, and you will know exactly what’s going on.