What Is a Printer Test Page
Have you ever set up a new printer and seen a pop-up asking you to print a “test page”? Did you wonder what that page even does? Or maybe your printer suddenly printed one on its own, and now you’re confused about why?
You are not alone. This is one of the most common questions people ask right after buying or fixing a printer. And the good news is, the answer is really simple. In this article, we will answer what a printer test page is, why it matters, and how you can print one yourself in just a few clicks.
What Is a Printer Test Page?
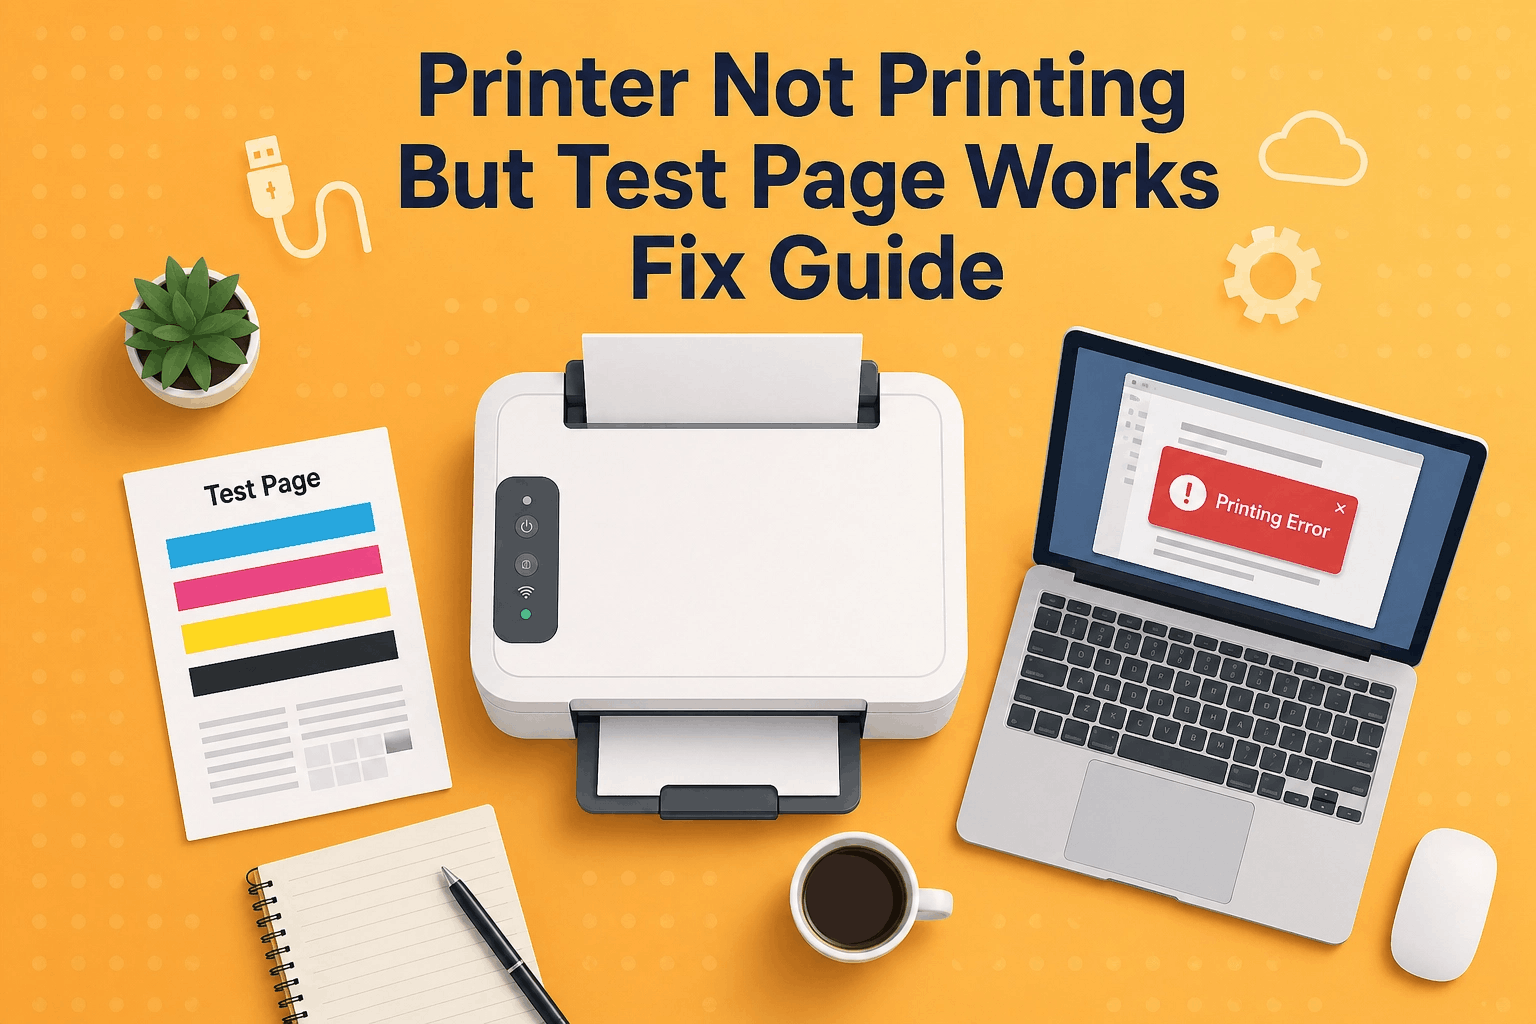
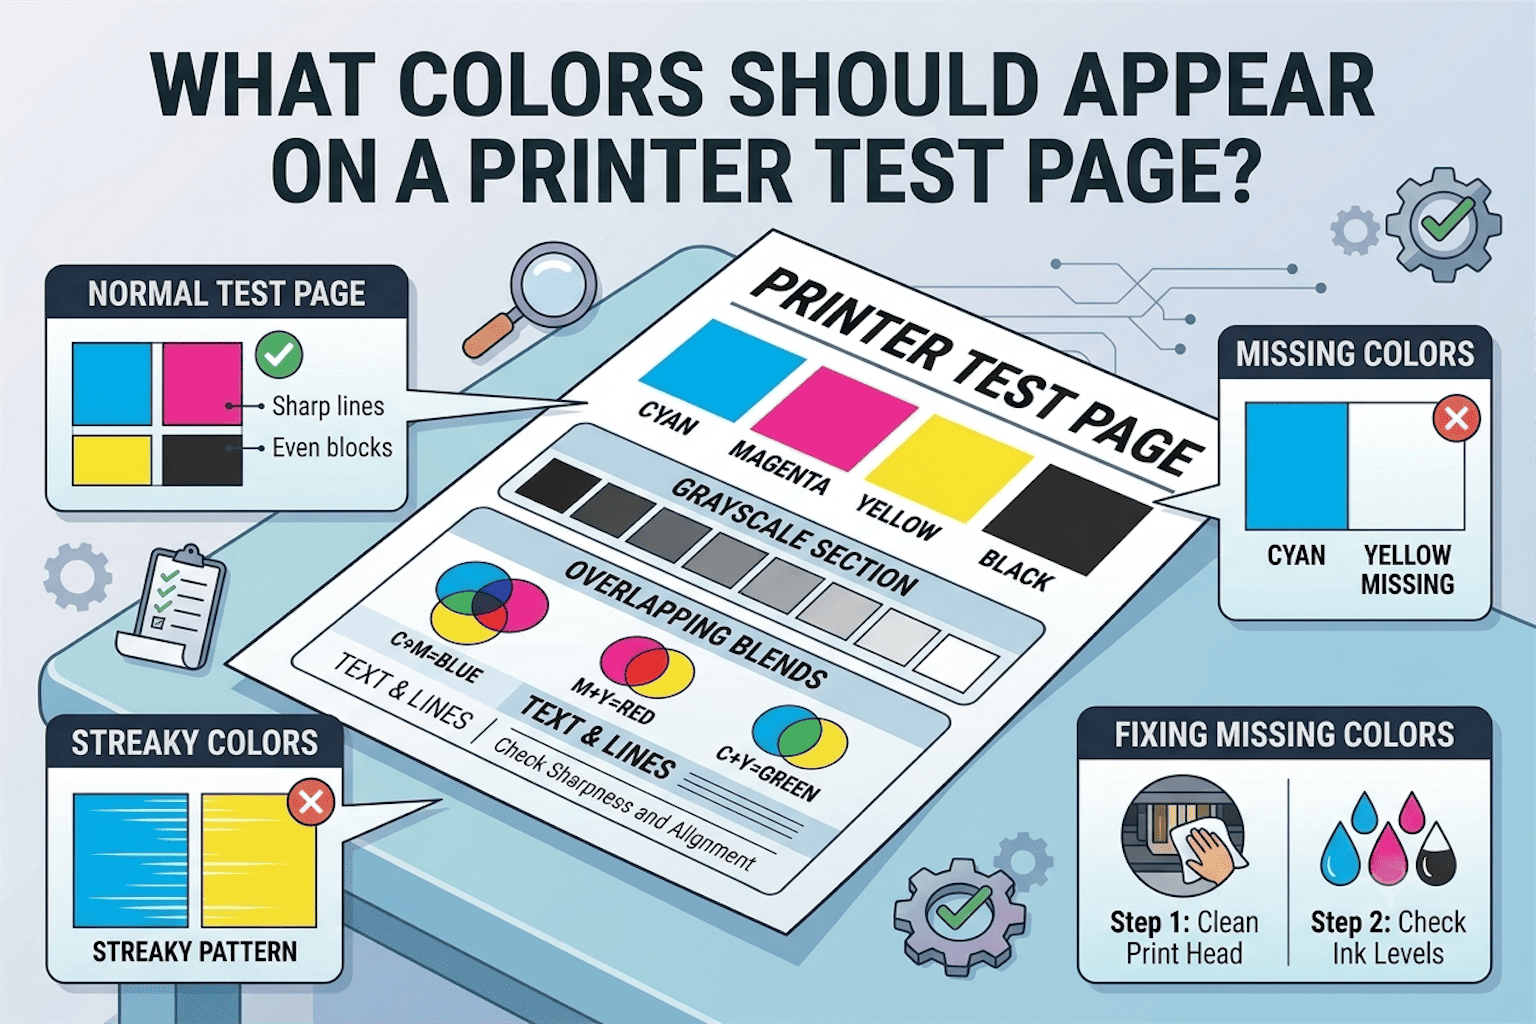
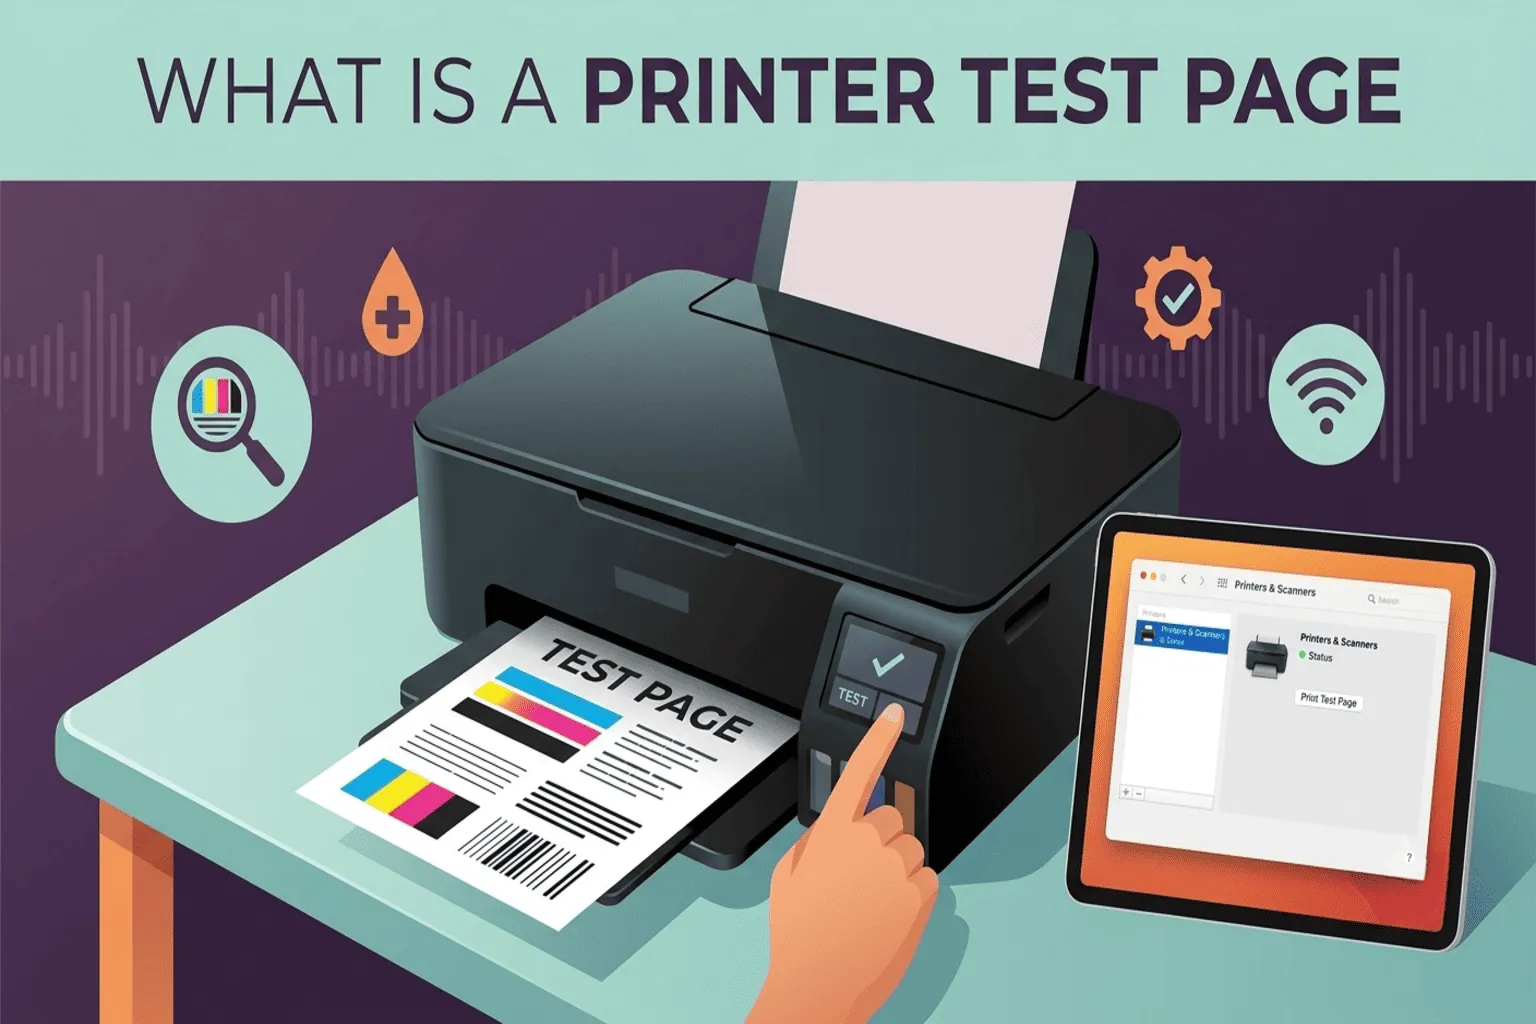
A printer test page is a sample page that your printer prints out to check if everything is working the way it should. Think of it like a small “health check” for your printer. This page usually shows:
- Colors (if it’s a color printer)
- Text and fonts
- Basic printer information, like the model name
- Ink or toner levels
When you print this page, you can quickly see if your printer is working well or if something needs fixing, like low ink or blurry printing.
Why Does a Printer Ask You to Print a Test Page?
Printers ask for a test print for a few simple reasons:
1. To Check the Setup
When you first connect a new printer to your computer, the test page confirms that the connection is working. If the page prints correctly, your printer is set up the right way.
2. To Check Print Quality
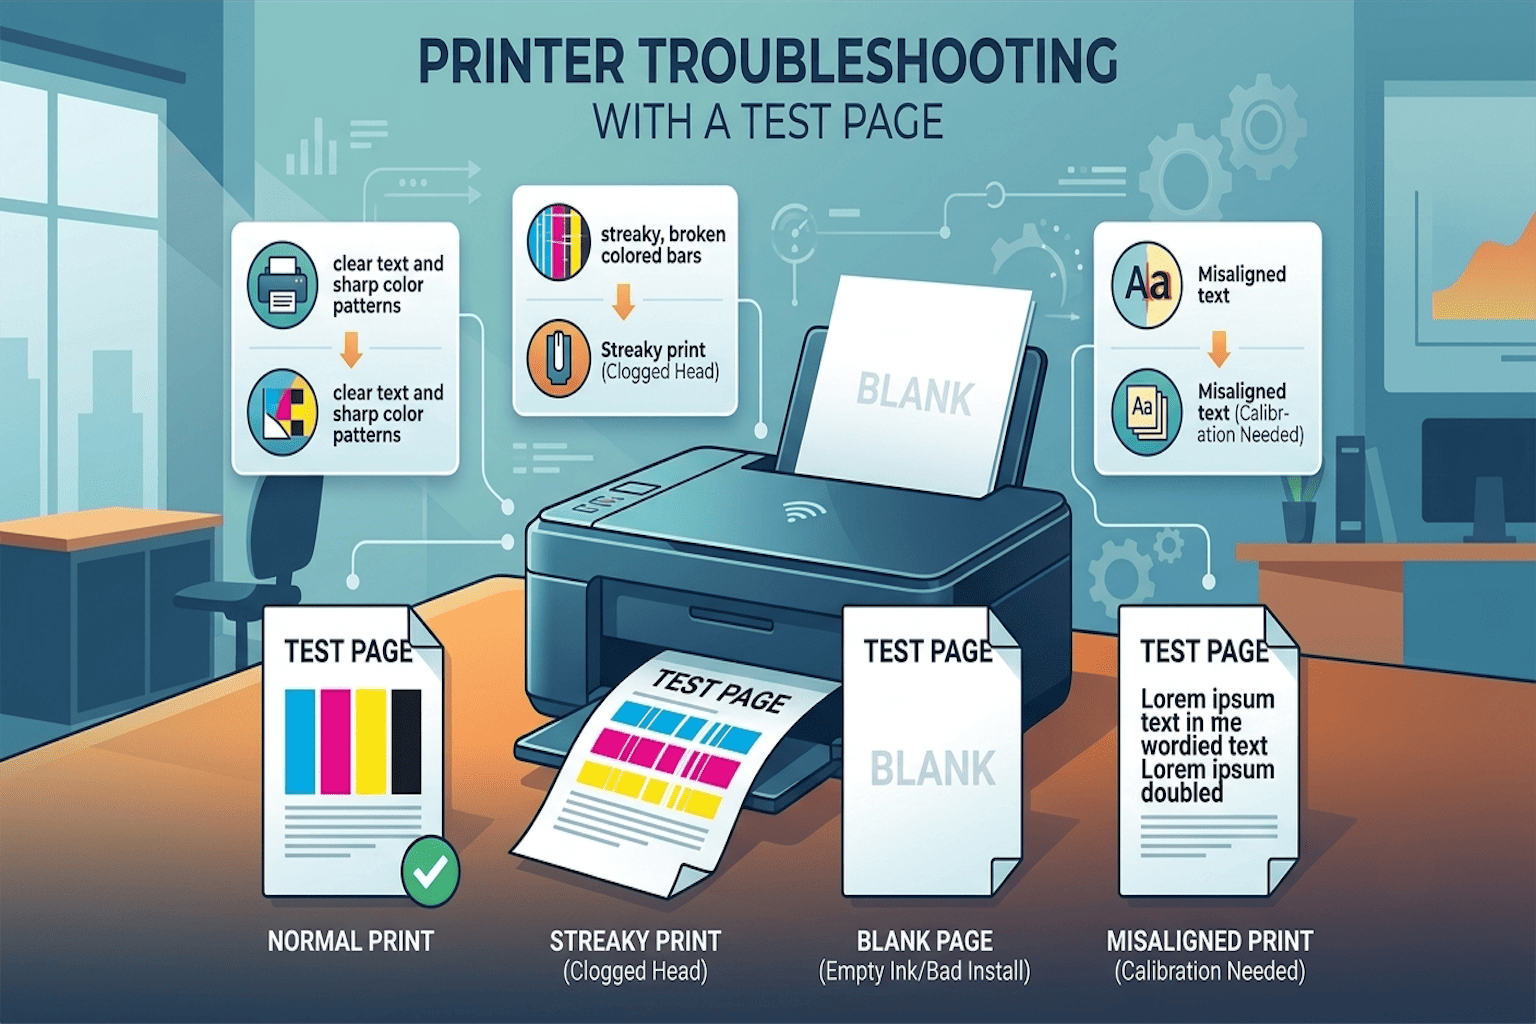
The test page helps you see if the print looks clear or if there are lines, smudges, or missing colors. This is helpful before you print something important, like a resume or a document for work.
3. To Confirm Ink or Toner Levels
Sometimes the test page shows if your ink or toner is running low. This way, you know it’s time to buy a new cartridge before you run out completely.
How to Print a Test Page (Step-by-Step)
Printing a test page is easy, even if you’re not great with computers. Here’s a simple way to do it on most devices.
On Windows
- Click the Start menu and search for “Printers & Scanners.”
- Select your printer from the list.
- Click Manage.
- Click Print a Test Page.
On Mac
- Open System Settings (or System Preferences).
- Click Printers & Scanners.
- Select your printer.
- Click Open Print Queue, then choose to print a test page.
Directly From the Printer
Many printers also let you print a test page without using a computer at all. You can usually do this by pressing a certain button combination on the printer itself. Check your printer’s manual for the exact steps, since this can be different for each brand.
What to Do If the Test Page Doesn’t Print Correctly?
If your test page comes out blurry, has missing colors, or doesn’t print at all, don’t worry. Here are a few simple fixes:
- Check the ink or toner: Replace it if it’s low or empty.
- Clean the print head: Most printers have a cleaning option in their settings.
- Check paper alignment: Make sure the paper is loaded correctly.
- Restart the printer: Turning it off and on again can fix small glitches.
- Update printer drivers: Old software can sometimes cause printing problems.
If none of these work, it may be time to contact your printer’s support team or check the manufacturer’s website for more help.
Why This Matters More Than You Think
A printer test page might seem like a small, unimportant thing. But it actually saves you time and stress. Instead of printing an important document and finding out later that it looks bad, the test page lets you catch problems early. It’s a quick and easy way to make sure your printer is ready to go, whether you’re printing school work, office documents, or family photos.
Final Thoughts
So, what is a printer test page? It’s simply a quick sample print that shows you if your printer is working properly. It checks your setup, print quality, and ink levels, all in one easy step. Next time your printer asks to print one, you’ll know exactly why it’s asking for it, and you’ll know it’s helping you avoid bigger printing problems later.